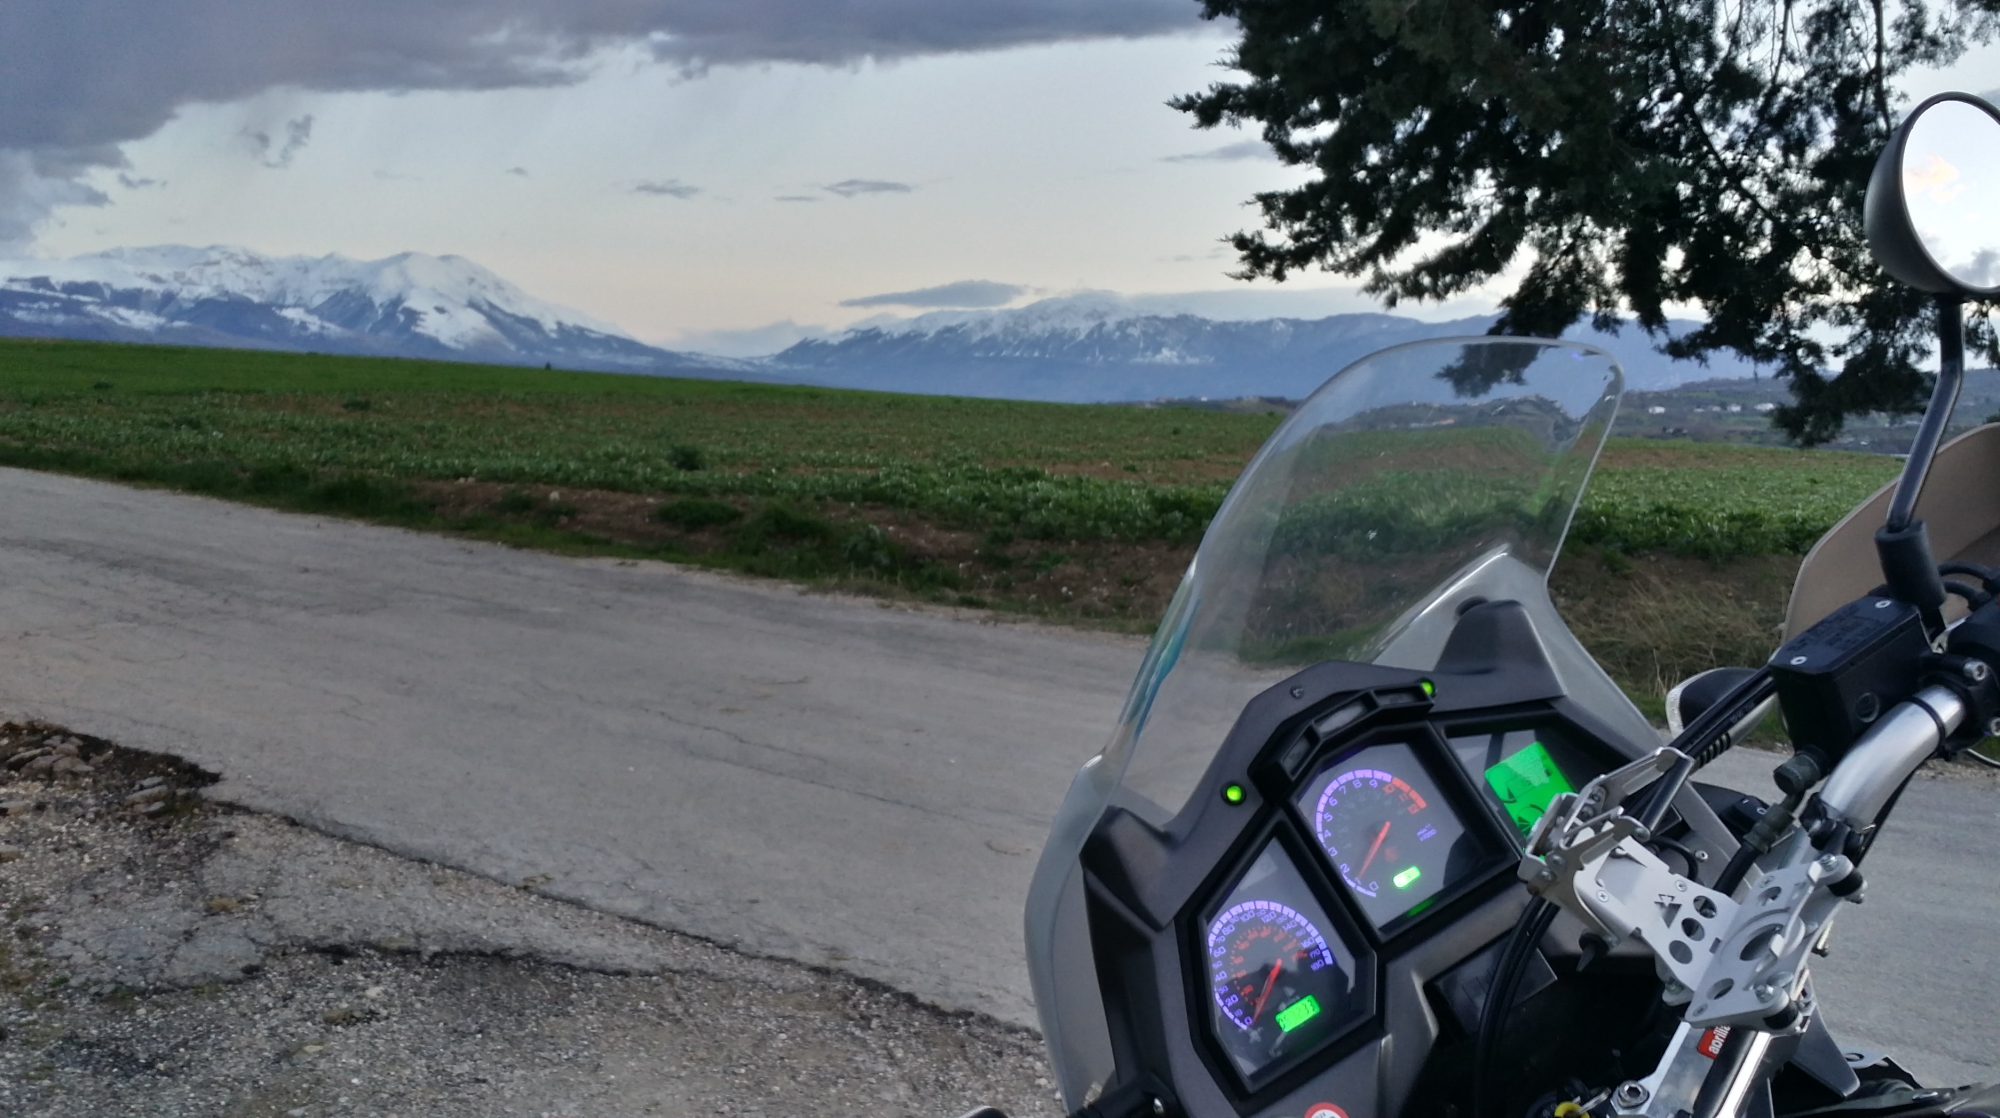
 I figured it would be a good time to take the Capo off the road and replace the heated grips when it next rained …… and oh boy is it raining! 48Hrs now and another 24 to go if the met folk are to be believed. Plenty of time then to get the deed done, with a hot brew and cold beer somewhere along the way.
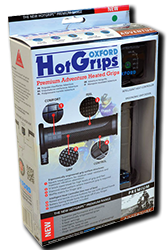
This morning I spent a good hour doing a detailed write-up, only to realise that quite frankly it would bore you to tears …… fitting the Oxford Adventure heated grips is nicely covered in the enclosed instructions and on umpteen websites and no doubt a zillion YouTube video’s. What YOU need is the specific details and issues relevant to fitting them to Rally-Raid biconical handlebars – more specifically, Rally-Raid bars that already have Aprilia heated grips fitted, so here goes.
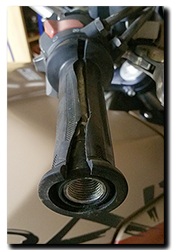
 The left-hand one is a doddle. The Aprilia grip is held on by two screws and no adhesive, so it simple slides off once all the relevent bit’s and bobs have been removed first. The right hand one is a different matter though. For this one I had to cut off the rubber grip, peel off the old heater element and then cut/Dremel the large plastic disk (switch-gear end) and raised ridge (bar-end weight end) to make one continuous 26mm diameter smooth tube.
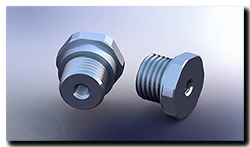
Now the Oxford Adventure grips are 132mm long (can be cut down to 122mm) and I fitted them untrimmed, but that does mean that spacers are then required for the bar-end weight mounts to fit properly and not foul anything. For the left hand side this is 1.5mm thick (22mm OD, 18mm ID). However the right-hand is a different story. This needs the original Aprilia 3mm spacer replaced with a 7mm one – same OD and ID as the left one. But with this in place, the amount of lost thread on the mounting is now a bit worrying, so I drew up a  replacement mounting in CAD and will get a local machine shop to knock a couple up. Meanwhile a 3D printed spacer is in place and works fine for now.
So now they’re on and look good and they feel great, no more finger tips pushing into the back of my palm with summer gloves on and I swear my wrist is already thanking me for the reduced torque on the throttle. All that’s left to do now is install the controller and wire everything up ….. just follow the instructions in the box!
Why not just cut the grips down I hear you cry. Well to me, cut down grips look just that – cut down. They lose the raised ridge at the end and scream out butchered! Besides it’s bloody hard to get a perfect cut, it always seems to go wibbly-wobbly somewhere. Not only that, but I wanted the extra width to make using winter gloves more comfortable. The original grips (and Ariete) are just too narrow (107mm usable) to be comfortable with my BKS winter gloves, leaving Mr Pinky out on his lonesome on the bar-end weight! Now the whole finger-family can be snug and warm on the extra width the Oxford grips give.
UPDATE – The whole kit is now in and working a treat, and boy are they toasty compared to the Aprilia ones! If I have one issue with them, it’s the length of the wires ….. I found that the wiring provided isn’t exactly generous and needed very careful routing to make sure the three connectors could sit comfortably behind the headlight and the main loom then reach back to the battery. Given that they are sold as ‘Adventure’ grips, am I cynical for thinking they might be aimed at adventure style bikes with higher/wider handlebars etc? Come on Oxford, a few extra inches of cable on the looms won’t break the bank surely!


