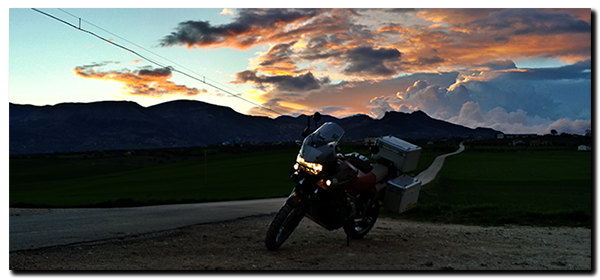
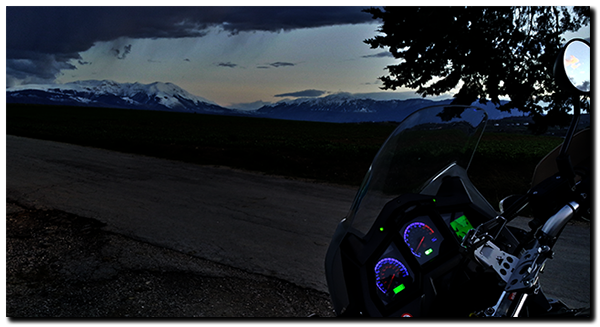
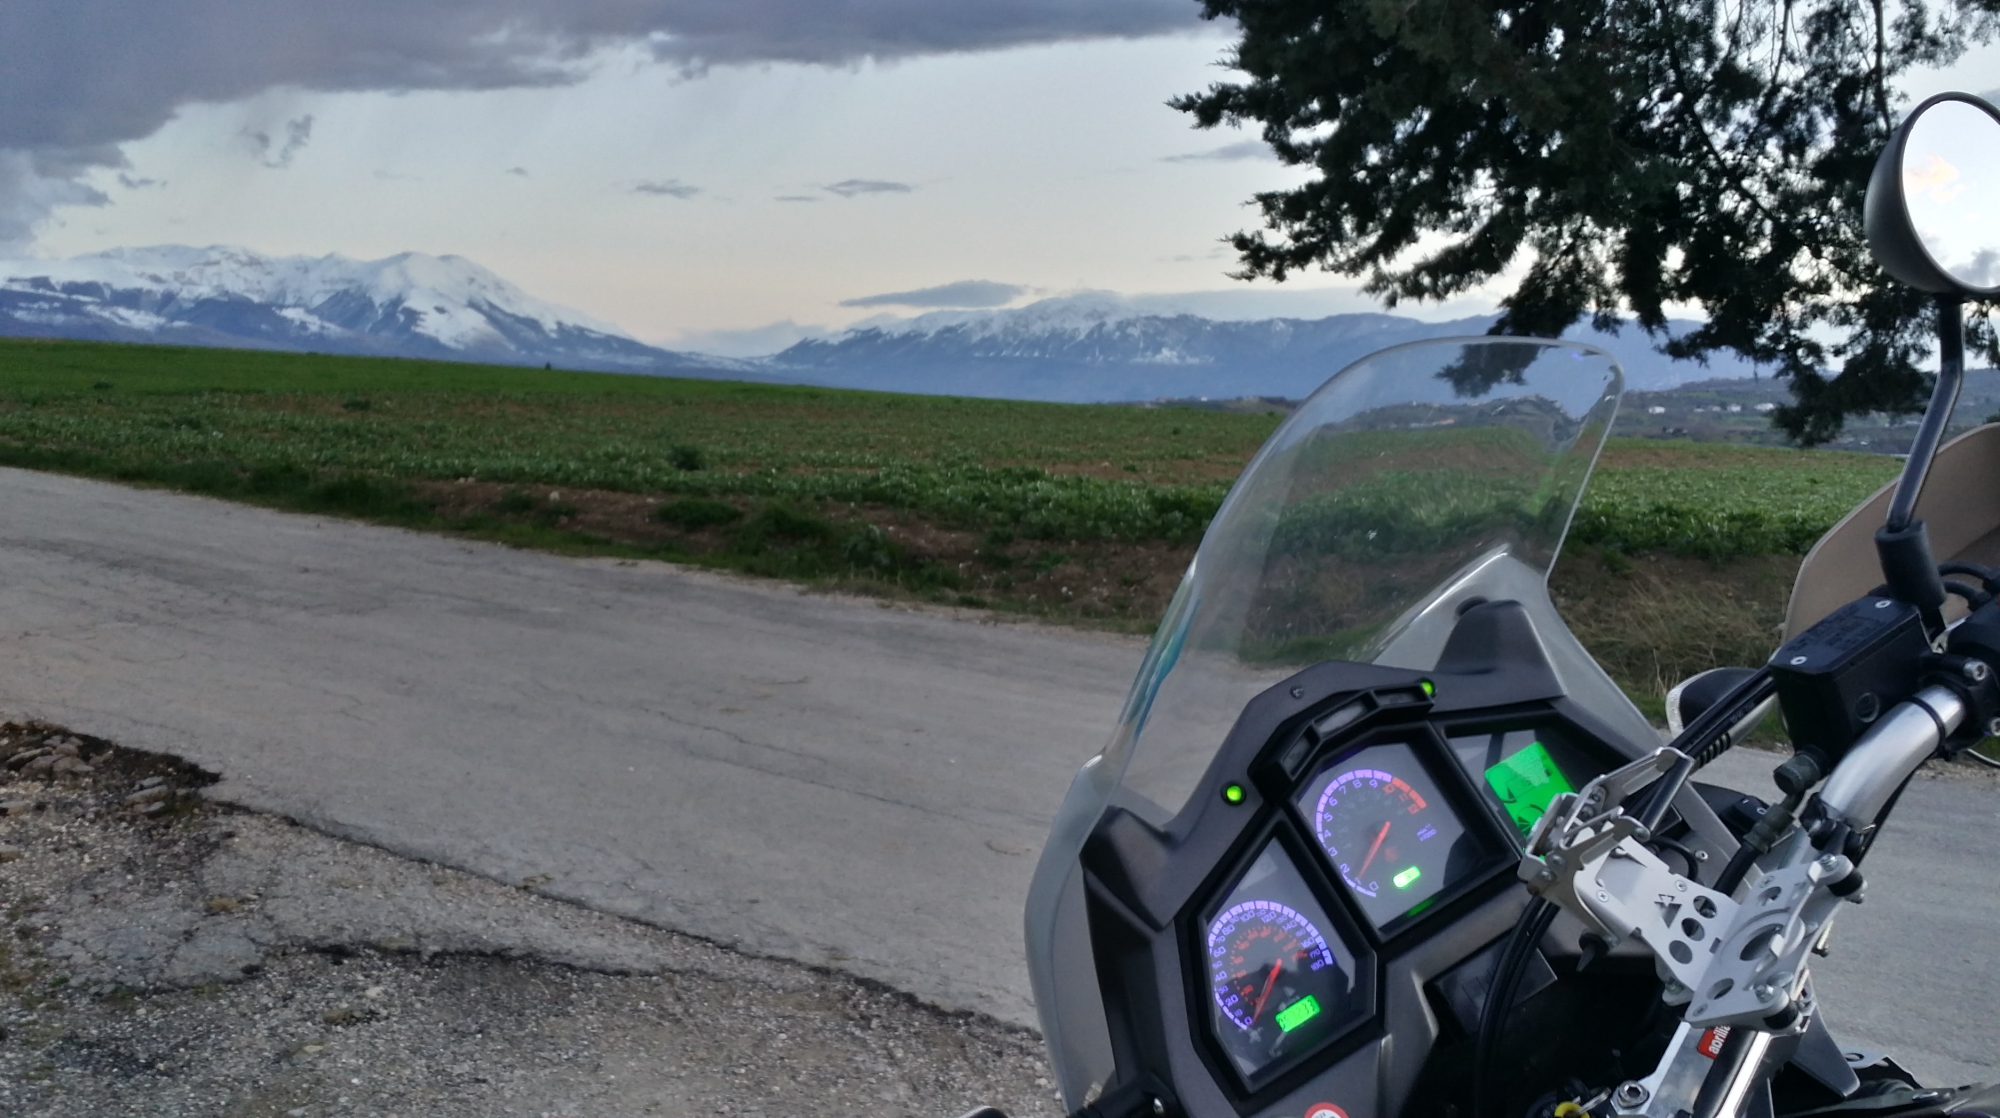
 I switched on the fog-lights to better illuminate the mud and stone strewn road ahead; when it dawned on me that I hadn’t taken the Capo out in the dark for ages, months probably. And here I was winding a path along our troubled road and hopefully onward for a nice little night-time ride all in the name of testing the auto-dimming backlighting!
After getting the set-up working nicely with the old thumb-over-the-sensor routine, it was time to take the old girl out for a spin and see what the illumination was like both in unlit rural and street-lit urban riding. I took the netbook and cable along so that changes to the code could hopefully be done at the roadside.
 In the end I was really pleased with how the lighting worked anyway, the only change I made was to the minimum brightness – dropping it slightly – so that it’s totally readable without putting stress on my tender night-time vision. Daytime backlighting is, as you would expect fully-on at 100% while the night-time drops to 30%, which with the higher output LED’s (blue & green) is just about spot on.
But ……
And there’s always a ‘but’ …… the two LED’s in the binnacle (Autoswitch & Battery monitor) now stand out as being overly bright compared to the dashboard at night, so, time to work out how to take these signals and pass them through the Arduino and subject them to the auto-dimming code as well, then the whole cockpit area will be sorted at last! 😉
