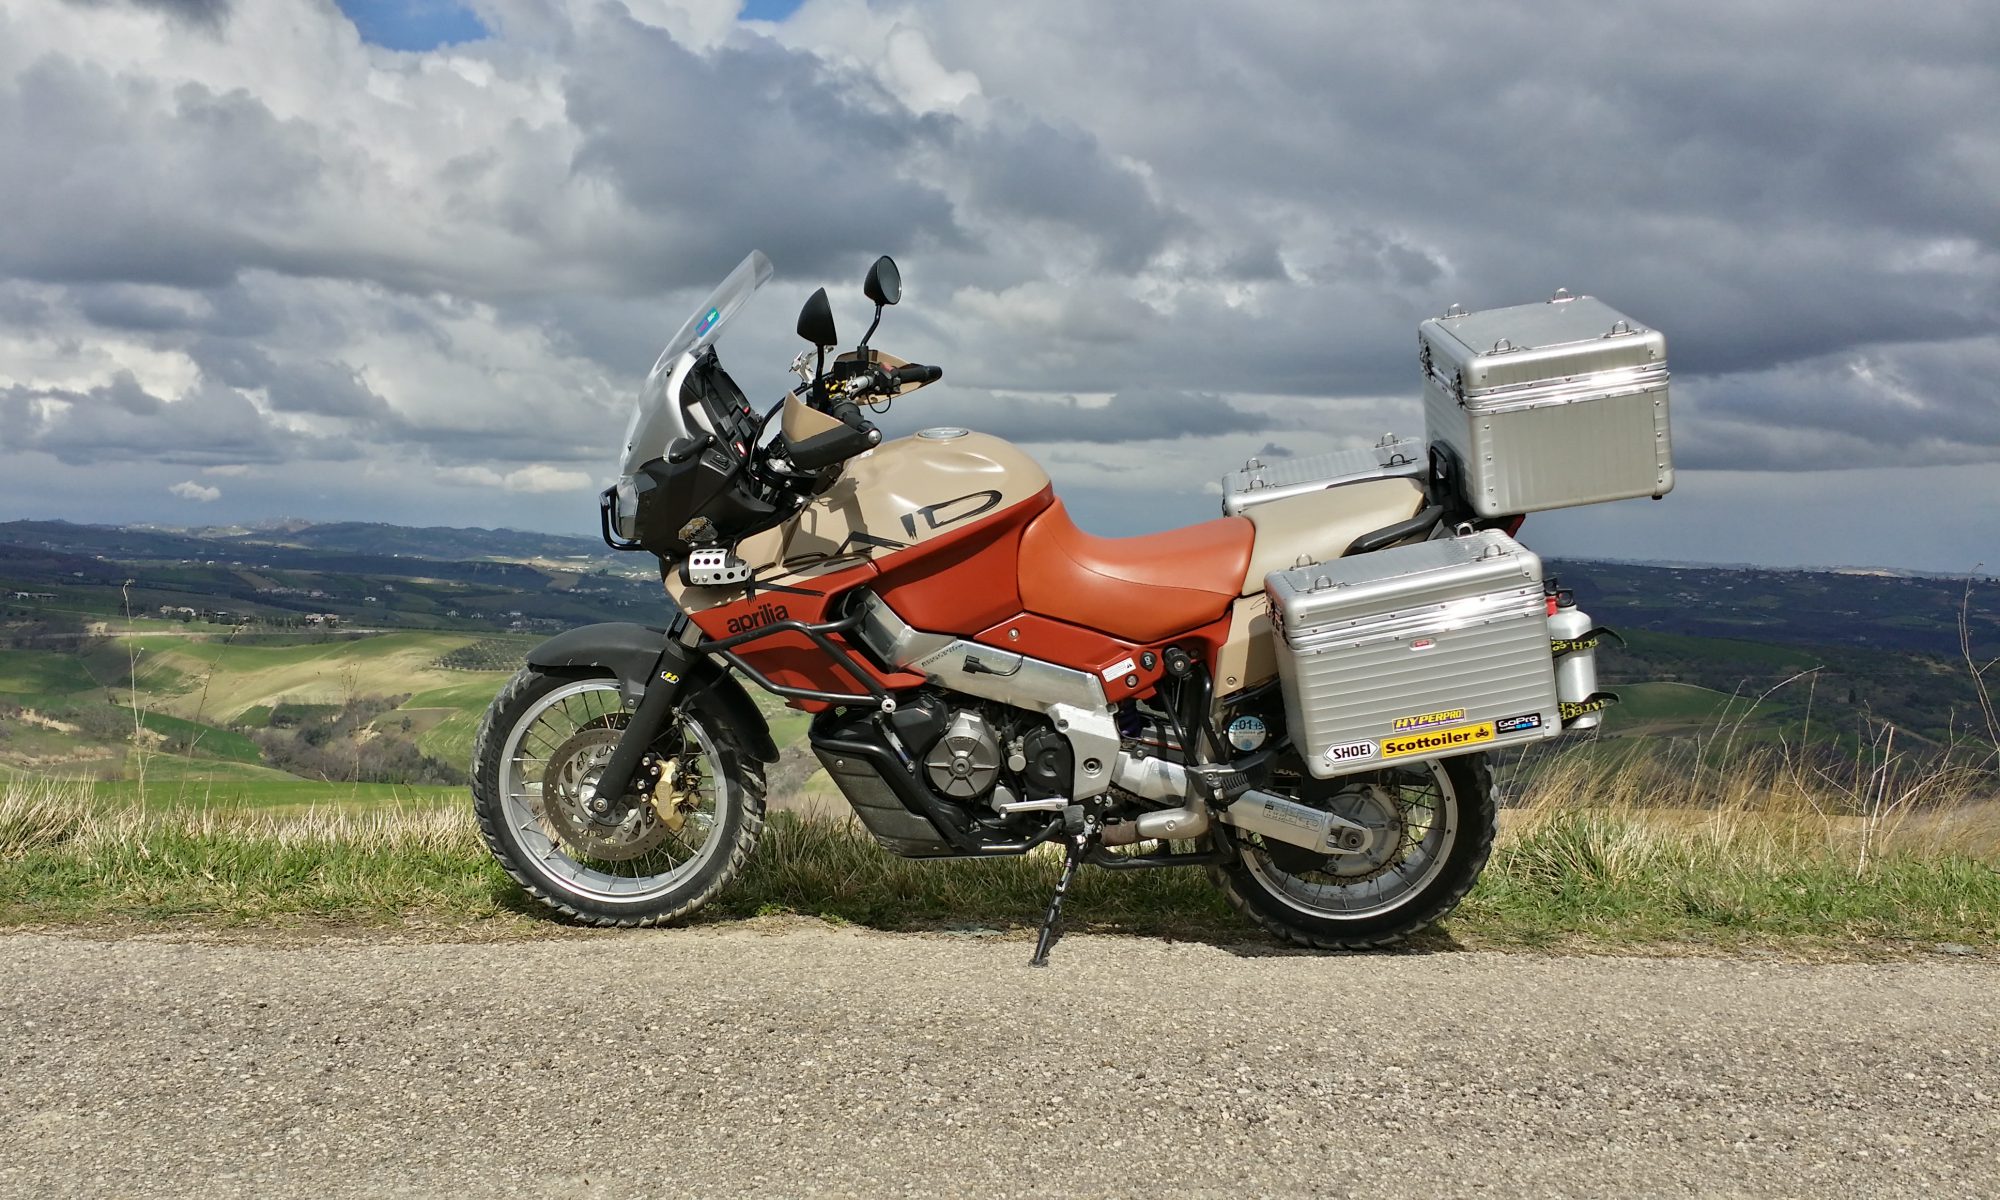
 OK I admit it, I’m about 95Kg fully kitted …. and quite frequently the panniers/top-box can hit the scales at around 50-60Kg. All this means the rear shock absorber pre-load is usually set in the 75-100% range. The bike handles surprisingly well, but spring rate is noticeably lacking on fast, undulating roads.
So time to fit a Hyperpro progressive rear spring – Part No: SP-AP10-SSB010!
Note: Hyperpro also do a spring – part number ‘005’, this is for the standard Caponord and as far as I can tell, other than the colour (black) – it’s the same. More info required though to be absolutely positive!
The basic differences between the Sachs yellow single-rate spring on the Rally Raid shock and the purple progressive rate Hyperpro are wire thickness – 14mm up from 13mm, number of turns – 8½ up from 7½. Both springs are 86mm outside diameter and 205mm long. Running this through an online spring calculator seems to point to the Hyperpro offering approx 33% more stiffness over standard.
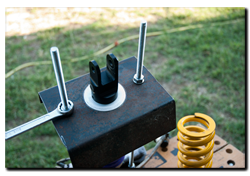
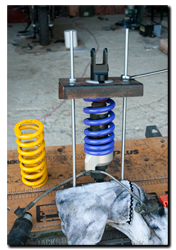 I home-made a spring compressor with 5mm steel and M10 threaded bar. I welded a piece on the lower plate to hold the upper eye secure – the shock is compressed upside down – removing the spring from the bottom. Before compressing the spring I slid the bump stop rubber and nylon spacer along the shaft to make working the locking collar easier.
The spring needs to be compressed quite a bit, 10-15mm or so to allow the collar to be removed. Carefully unwinding the M10 nuts and relieving the spring pressure was easy and in a few minutes the spring was off. A quick check over and clean, then the unit was ready for the new spring.
Make sure you fit the spring with the compressed coils sitting below the pre-load adjuster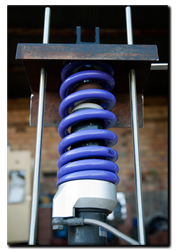 as in the pictures. If you’ve got it right the writing on the spring will be the right way up with the shocker back in the bike. Compressing the new spring was no harder than the old one and I soon had it secured in place. I guess overall I spent a couple of hours making the compressor, it worked and will now proudly sit on the shelf ready to help fix a leaky pre-load adjuster as and when it happens!
Don’t forget to slide the nylon spacer and bump stop back down the shaft when you’ve finished.
 So after refitting, it’s time to set the sag (how much the bike settles on its suspension) …. I’ve got all the previous settings, but decided to go from scratch again to see how a new set-up compares.
To save space … here is a link to how I set my Capo suspension – SUSPENSION SETUP PAGE.
Once it was all buttoned up and settings dialed in, how does it compare? Initially, not much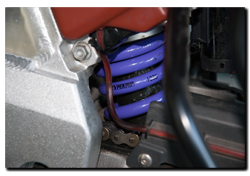 different I must say, riding out of home and onto the bumpy Abruzzo mountain roads didn’t appear too different – and that’s a good thing! On these roads the original spring was fine. Then onto more open roads …. various surfaces, smooth, undulating, some with ribs and dips from subsidence, its here the Hyperpro shone through. The suspension is noticeably working together now, rather than the village green tug-o-war it frequently emulated when pushed.
Overall a worthwhile upgrade – thanks to PDQ in Taplow for getting the spring in for me. Cost was approx. £80 (Sept 2011).
