Lights, camera …….. action!

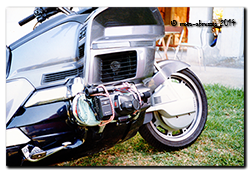
Honda GL1500 with cam-cover-camera!Video on bikes ……. Nothing new of course, it’s been going on for ages. But for what it’s worth, here’s a potted history of moto-abruzzo’s fumbling’s as a videographer.

This pic is probably where it all began, back in 1992 on a hot day in Italy when I was bored. I strapped my analog camcorder to the cylinder head of the 1500 Goldwing and had a fun afternoon playing. The low perspective added drama to the shots and I could watch the front end working in corners …. Well as much as you can corner on a Goldwing! But of course the kit was bulky and not waterproof in the slightest, Sony Video Walkman GD-V800so once I’d had a play I never touched it again – especially in the rain soaked confines of the UK.
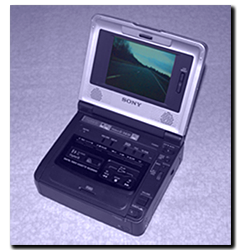
It was 2001 before I used video again. Now working as a full time Motorcycle Instructor I could see the value of using video as a training aid, so I fitted my Triumph Trophy 1200 with two 720×520 colour bullet cams (front & rear) and used a Sony Video Walkman GD-V800 deck to record. The cameras were interchangeable with PIP (Picture in Picture) so one image was primary while the other was a thumbnail in the corner. It all worked very well and I learned a great deal about camera placement, lens choice, filming and editing video from those days. Sadly, when the Trophy was written off in 2005 the video gear just sat in a corner of the workshop and never got fitted permanently again – mainly because no bike stayed long enough until I got the Caponord!

GoPro Hero 3+ BlackAnd that brings me up to date I guess. 2014, a new year and all that jazz, will see moto-abruzzo once again playing with video. Hopefully this time it will add a new perspective to the website and move things in a slightly different direction. After a few weeks of internet-homework, weighing up the pros and cons of some amazing kit, I’ve chosen the GoPro Hero 3+ Black as the camera platform to use. I’m not going to bang on about the camera as a zillion websites and YouTube videos are available to review this kit, it’s enough to say that in comparison to previous kit I’ve used it look fantastic, is a magnitude more advanced and  …….  well lets just say I can’t wait to get filming!
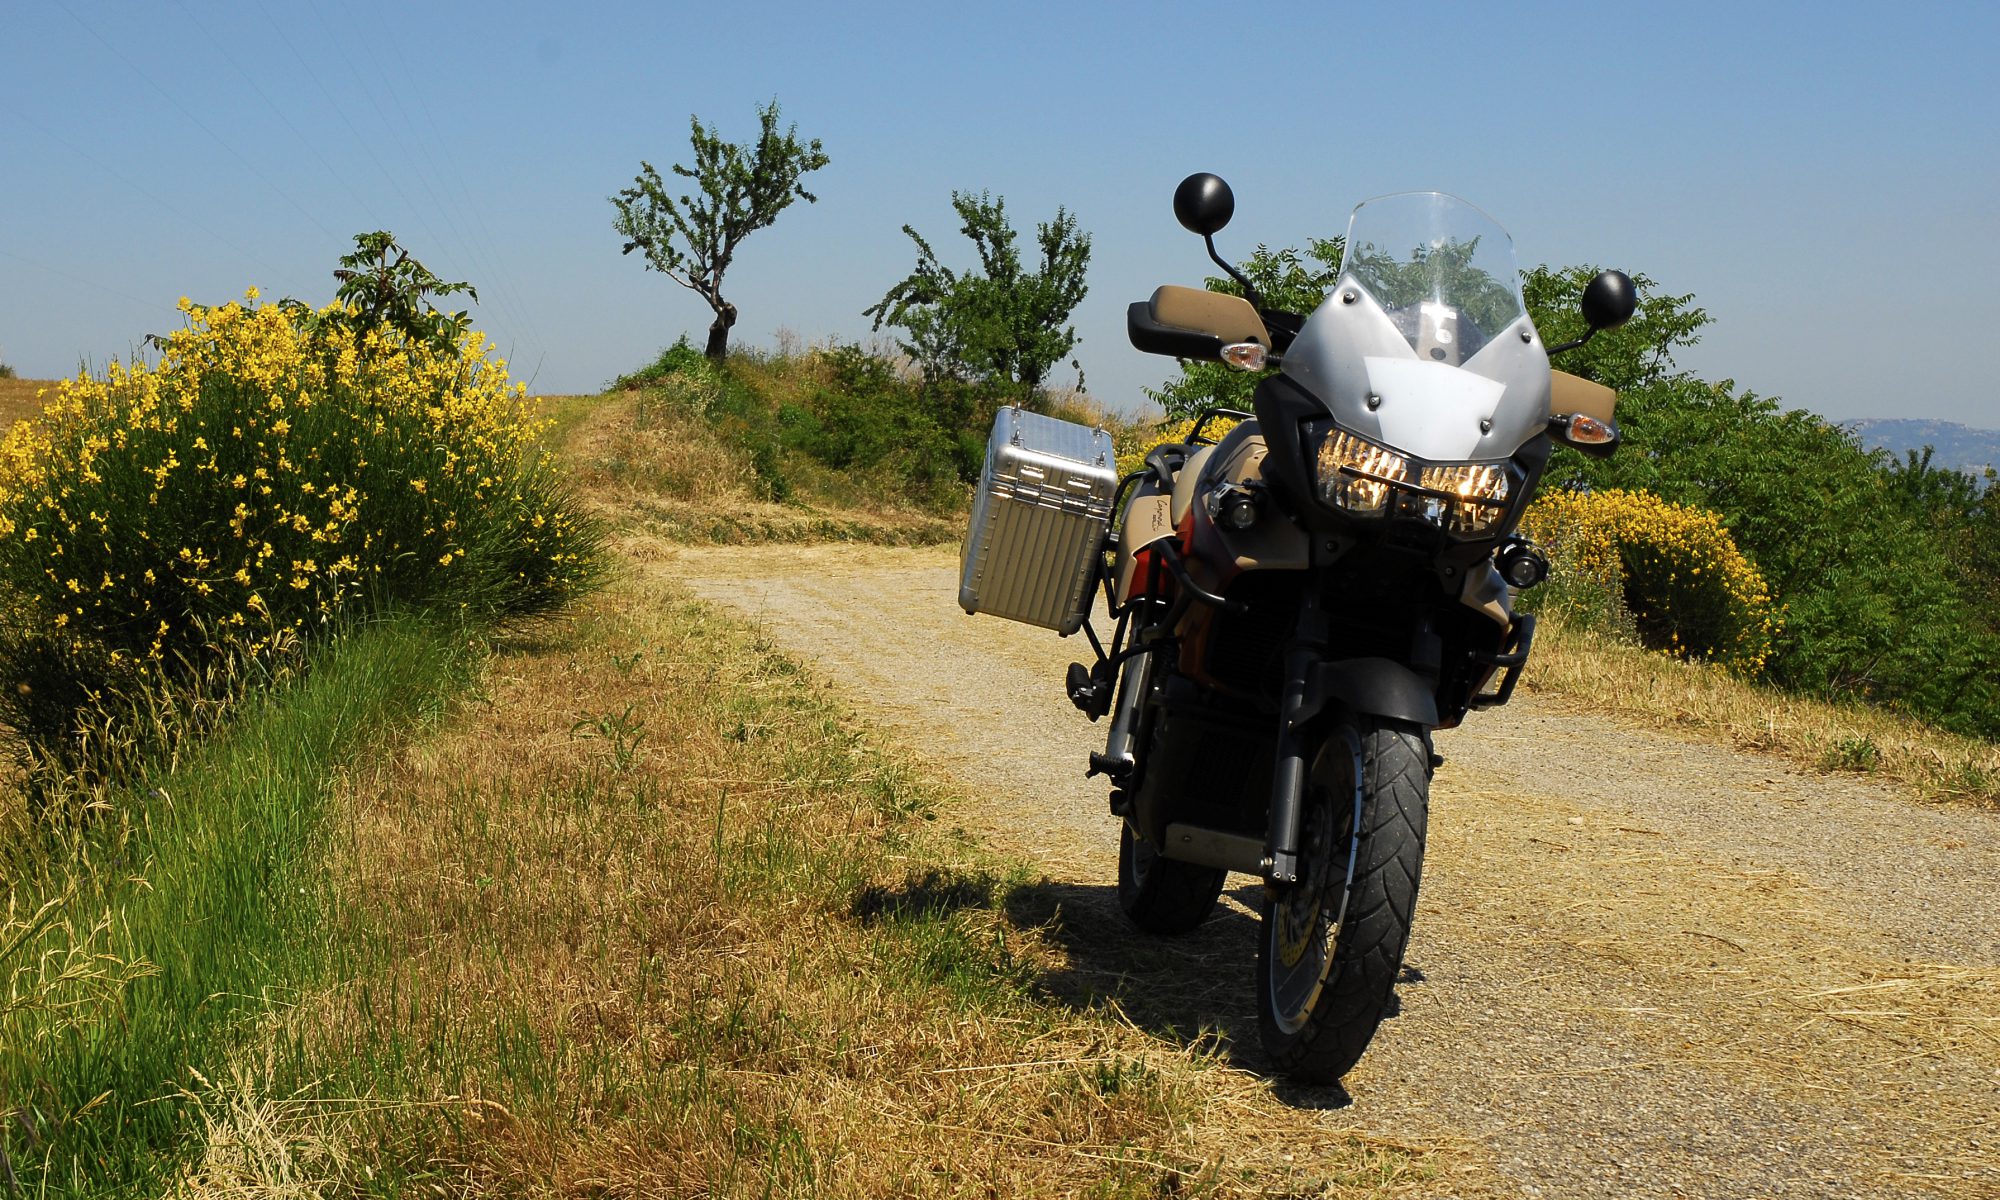
Service time over

Empty tank makes for light work!Service time is over for another 6,000miles. I decided a couple of years ago to extend it from the original 4,650 miles due in part to the well documented stability of the valve clearances and because I’m using the long oil filter and a decent branded oil. Whether I’m being realistic or foolhardy for extending the interval only time will tell.  😕

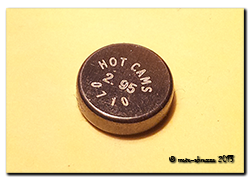
Valve clearances were all in spec but on the tight-side, so no need just yet to use the new Hotcams shim kit, but next time I’ll change all the shims by ±0.025mm to shift the 0.13mm ...... getting close to the limitgap back into its mid-range. That should see the valves good-to-go for at least another 50k miles. Everything else was absolutely fine, with just a slight tweak of the CO to lean out the idle.

The rest of the bike was given a thorough check over and happily all bearings and seals are fine, a squirt of grease in the rear suspension linkage keeping that nice and smooth. The drive chain and sprockets were cleaned and checked and after 33,333 miles (yes, that’s a genuine number!) they’re still good ….. This is the highest mileage I’ve EVER had from a drive chain. DID ZVM2 chain rocks!

Air filter frolics

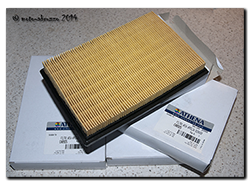
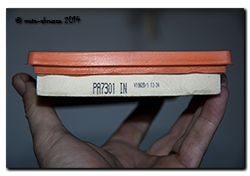
Athena CA8925 air filter to replace Aprilia AP8104169I mentioned recently that I’d ordered a batch of air filters made by Athena in Italy. They’re a direct replacement for the Aprilia AP8104169 one and the only obvious difference is the black foam material instead of orange, and that’s fine and dandy with me. However, on stripping out the old filter I noticed for the first time (that I can recall!), it has a code on the end …. hmmmm ….. could it be a viable manufacturers code I wonder?

Hmmm what's the code mean then Sherlock?A few minutes on the web confirmed that the number is definitely a manufacturers code – not Aprilia, but FIAAM. A bit more digging unearthed a total of three cross-referance numbers. Tecneco AR9474PM, FRAM CA9474 and FIAAM PA7301. The downside? All of them seem to be obsolete, with FRAM/FIAMM saying they went out of production in March 2012! Buggeration ……

But … one of the sites I found listed a filter that is an almost identical footprint to the OEM one:-

Aprilia OEM          210 x 140 x 30

FIAAM PA7180   212 x 140 x 60

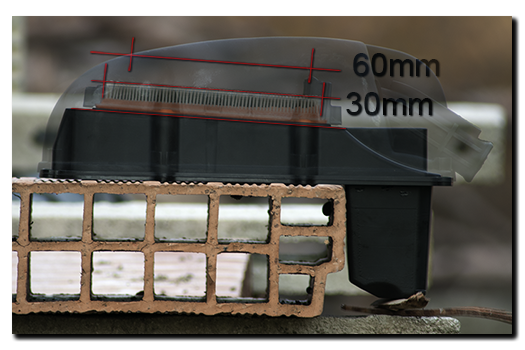
Now a 2mm length difference is peanuts – the OEM one can be stretched/compressed by 10mm easily, the problem may well be the height, at 60mm it’s double the OEM filter. So to try to find out I took some pics of the airbox with the OEM filter in and had a play in Photoshop. Here’s the outcome.

Photoshop airboxThe vertical lines show where the filter ends or interferes with the frame or lid. As you can see, the 60mm high PA7180 will squash in at the ends …… will this be enough to restrict air Athena box label for the Capoflow, or will the greater surface area of the larger pleats compensate? Answers on the back of a crisp £20 note if you please! 😀
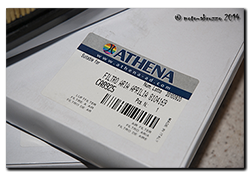
Next time I’m passing a motor-factors, I’ll order one and have a play. At £4.68 each they’re half the price of the Athena …. and that brings me nicely back onto track, the new Athena filters that turned up today. What are they like then eh?Embossed pleats

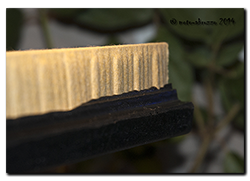
Well, dimensionally it’s an exact copy, so the fit is absolutely fine. One nice touch is the embossed pleats. It keeps them evenly separated for better air flow unlike the OEM element that is simply made of folded paper where the pleats can collapse onto each other. The bottom line is that it fits well, looks better constructed and is substantilly cheaper than OEM (€8.35 each from Germany) …… oh and it comes in a nice shiny box!

Let’s all do the Shimmie-Shimmie Shake …..

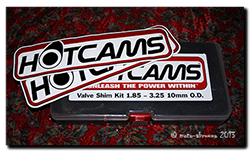
10mm shim kit ...... and stickers!!!It took the best part of three weeks for the valve shim kit to arrive from the USA ….. and I think that’s rather good, considering the surge of Christmas post whizzing around the world, not to mention the holidays themselves getting in the way.

I’d ordered a Hotcams (SHIM-31) 10mm  shim kit (thickness range: 1.85-3.25mm) that’s sold for the HD V-Rod and Buell 1125, but has a whole bunch of shim sizes in it that suit the Capo, or any V990 motor just fine.

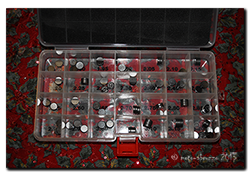
Three shims of each sizeThe V990 engine uses shim sizes from 2.3-3.0mm in 0.025mm increments, so quite a few of the Hotcams kit are redundant, not only that, the kit only contains shims in xx.000mm or xx.050mm sizes, not the xx.025mm and xx.075mm that may be needed. Now this may appear to make the kit a rather poor choice, but look again at what you do get for your money when compared to the shims an Aprilia dealership/stockist will sell you.

So let’s compare ……..

Shim close upHotcams Shim Kit – delivered to Italy was $82.35 / £49.94 / €59.73 including customs duty & taxes. That’s 15 usable shim sizes (x 3 each) and works out at approximately $1.83 / £1.11 /€1.33 per shim. Now compare that with genuine shims from AF1 in the USA – $14.99 each*, or Ultimate Parts in the UK – £9.15-£12.85 each all of course with package and posting on top. I think it’s fair to say that if 50% of the shims are on hand for around 10% of the Aprilia list price …. well I can live with that!

*AF1 do sell a shim kit and it may well be the same one that Hotcams sell. Certainly the range of shims is identical – as is the box by the pictures on the website. Why didn’t I buy from them? Simply price, at $75.99 + $40 shipping, they weren’t even close to Ebay stockist Powersportsplus.

Santa and his sack of Capo goodies

Ho, ho, ho ... dashboard inlay for MrB!!!!!I’ll start off by wishing you all a hearty Merry Christmas and a very happy New Year wherever you are on this wonderful globe of ours. For the Capo and I, it’s proving to be an extra special one this year, with Santa dropping off a few extra goodies for the riding-year ahead.
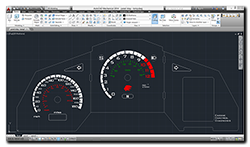
The dashboard has been especially good, and so merits the star prize of a new OEM quality inlay with all the new graphics in place. So as I write, the old one is on its way to Lockwood International Ltd in the UK to act as a template,  meanwhile the plastic chassis has been Finished inlay templatecleaned and preped ready for the big day. Like a kid on Christmas morning, I’m all on edge – and I’ve got to wait at least three or four more weeks yet before it’s installed!!

Probably the most needed bits are for the (very) overdue service. Yes folks, I’m hanging my head in shame as I admit that the Capo’s mileage overran a tad ……. a couple of thousand tads give-or-take! Now I’m waiting for a few packages to arrive for this truly international service to take place – Hiflo HF564 oil filters and ‘O’ rings from the UK, Hotcams valve shims from the USA, Athena air filters from Germany and 15w50 engine oil from Italy. Cosmopolitan or what!

That just leaves the parcels snuggling together under the tree …… a Shoi Neotec or a pair of socks? Slippers or a slipper clutch? Hmmm ….. roll on tomorrow!! 😉

See ya later Indicator

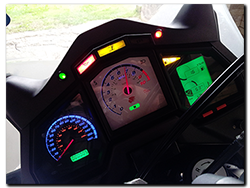
While it rains, rains and rains some more, I’ve had time to complete the mods with respect to moving the warning/tell-tale lighting around on the dashboard. Now the Capo has a nice left AND right indicator repeater lights ….. and looks all the better for it. So to recap.

  1. Unused ABS light is now the side-stand light
  2. The side-stand light is now the low-fuel warning light
  3. The low-fuel warning light has new green LED’s and is now a right-hand indicator repeater.

Here’s another piece of video with all the lights working. You’ll notice that the fuel is already on reserve, hence the old side-stand light (now low-fuel) is on throughout the video. Sorry about the quality, but a dismal dark day and a smartphone don’t work so well together ….. and my cold hands adding the shake didn’t help! I’ll add a new page to the site shortly with details of how the circuits were rearranged.

While I waited for Youtube to upload the video, I took a walk down the road to see what damage had been done by the 24hr+ of solid heavy rain …………

…………. let’s just say the Capo nor the Rangerover are going anywhere soon. We don’t appear to have a road left for about a 30m stretch. It appears to be languishing somewhere down in the valley by the looks of it! Pics tomorrow. 😥

….and winter hasn’t started yet!

KRB1101Now I’m not a superstitious fella, but 2013 is certainly making its presence know as it drags out its final days. First we have typical warm autumnal weather, rather rudely pushed aside in favour of a month’s rain in two days courtesy of ‘Cyclone Venus’. A couple of days respite and ‘Cyclone Attilla’ barged in …… lowering temperatures and dumping 2ft (600mm) of soggy wet snow everywhere. By now our road is well and truly battered. Run-off and landslides have seen three sections obliterated and turned into mud-holes fit for a fully grown hippo! The trees haven’t fared much better either, the wet snow has devestated the olive groves, ripping branches from mature trees and bending the young until their trunks snap …… what a waste.

Has it finished? Not on your proverbial nelly …… now we’re waiting for ‘Cyclone Neptune’ to wander over on Monday/Tuesday and dump another months rain. So the Capo sits rather forlorn in the barn while I favour the warmth of the Landy ( soz old girl!), but an extended lay-up may be just what’s needed. I could get the crashbars and sundry brackets sent away for powder coating and take time out to give the wheels a damn good clean…..hmm. Something about clouds and silver linings comes to mind! 😉

Tacho/Voltmeter live on the Caponord

Up and running at lastPhase 1 is over, Phase 2 begins …….. yes, the reworked dashboard with voltmeter/tacho and fade-in/fade-out auto-dimming backlighting is off the workbench and finally onto the Caponord. I know it doesn’t look too inspiring at the moment, but it is only a prototype unit for development. The white tacho face is simply a temporary inlay printed on a piece of A4, so it better not get wet!

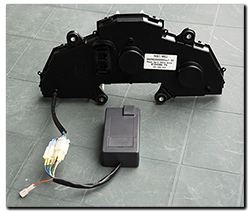
Arduino Uno V3Inside the box lives an Arduino Uno with a homemade interface board that switches and adjusts the signals to/from the dashboard as required. The single connector plugs into an additional fused loom that runs to the battery positive terminal. I’ve tried to build in safeguards against under/over voltage, battery disconnection and reconnection spikes and its own failure with regards to how the dashboard functions, hopefully most if not all eventualities have been covered …. fingers crossed!

The little grey box .... I’ll run this setup for a while and try to iron out any other issues as they crop up, but what then? Well Phase 3 has already started in parallel with Phase 2! A new microcontroller board that uses the same chip, but with a footprint that is an astonishingly small 8% of the Uno has been ordered. Not only is it small, it also loses the peripheral bits and bobs that I don’t need – and that means much lower power consumption. I’m really hoping to get the whole thing inside the dashboard case if possible, but the worst case scenario will mean a small box fixed directly to the back of the dashboard – so no wiring loom or bulky connectors!

Where the ideas originated ..... the Kwak GT & GPZ's of the 1980/90 eraAs well as getting the inlay reprinted with the added voltmeter graphic, I’ve also decided on a little  re-arrangement of the existing graphics and functions. For example, why oh why is a ‘side-stand’ light prime-center of the display when it already has a safety circuit to stop you riding away with the stand down? ….. Magneti Marelli over-egging the pudding I think.

So the side-stand is moving down to the (unused) ABS lamp spot, the low-fuel then moves up to the side-stand lamp and the low-fuel light then becomes the right-hand indicator – as it should have been all along. Yes, a turn repeater for both left AND right hand signals!!!

Left AND right turn repeater lamps!

With all this in the pipeline, I can now source a decent place to have the new inlay card made. I’ve spoken to a couple of companies in the UK already, but I’ll keep looking around for a little while longer …….. do you know anyone you can recommend? If so, I’d like to hear from you.

 Last but not least, here’s another short piece of video with the panel working on the bike.


Olive oil 2013

OlivelFor us the olive picking season is over. Picked, pressed and the deliciously aromatic end product, our liquid gold, is safely stored in stainless steel tanks. A good job really, as last week’s balmy 20-25c has given way to ‘cyclone Venus’ as I write this post. Temps down to 7-8c and gale force winds are busy stripping the land of anything not nailed down. This however is nothing in comparison to the devastation that has recently befallen the Phillipines ……..

So while I reflect on our soggy situation, I’ve put together a few photos of our past olive exploits. Some were on my old website back on 09-10 and I think they deserve another outing.Thunderbird 2 FAB!!

Oh and what’s with the Thunderbird 2 pic? Click on it and have a look! I just think the similarity is absolutely amazing. You’ve just got to love nature!

So here are those extra pictures, some taken at the Loreto Aprutino olive oil museum …. once a working mill itself until the 1920’s, it was then occupied by German forces during WWII. Thankfully they left the old machinery intact. Here’s a link to another blog ….. I think he puts it across much better than I could!

Clutch master cylinder seal

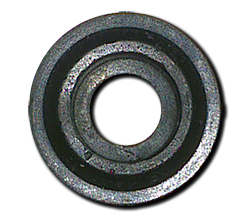
12mm sealUPDATED MAY 2019

A nice bit of news has come my way regarding the Caponord clutch master cylinder. If you’re ever thinking of finding a repair kit for it ……. good luck. No one has so far. But a couple of weeks ago I was contacted by Eddie in the Netherlands, who being a rather determined chap, wouldn’t accept no for an answer. So he set about hunting through 12mm Brembo kits used by various manufacturers to try and find a suitable seal.

Well the bottom line is that after finding, fitting and testing a kit for several hundred killometers, he’s found a solution ……… from the KTM EXC125 – 520 range, part number 50313061000 and priced at £17.28 in the UK.

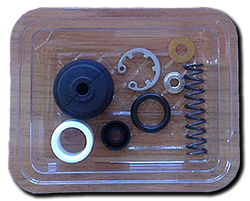
KTM 50313061000 repair kitNow this may seem very expensive for a kit you will only use the seal from, but when compared against the cost of a new master cylinder or a second hand one from EBay of suspect quality, it makes the cost a little easier to swallow.

I have to wonder at the logic of producing various 12mm seals that would only be used in a few thousand units, compared to making one seal that will be incorporated into many kits throughout the years. If you spend a little time online and look at decent photos of various 12mm kits from old-timers like the Ducati Pantah to modern KTM’s the seal looks awfully familiar. Of course, getting your hands on one and trying it is the only difinitive proof. And an expensive hobby!

So I’d like to thank Eddie for contacting me and sharing this valuable information, I owe you a beer!

UPDATE MAY 2019

It looks like Wemoto (UK) are stocking a kit for the Capo. Well at least they list one! I haven’t bought one yet, but good friend Beasthonda from the AF1 forum has and I had a look at it last week. The main piston looks to be a little shorter, only a millimeter or so, and that may not even be an issue when the pin is adjusted to suit. Anyway I’ll update again when the kit is fitted and hopefully working.