Brew ha-ha!

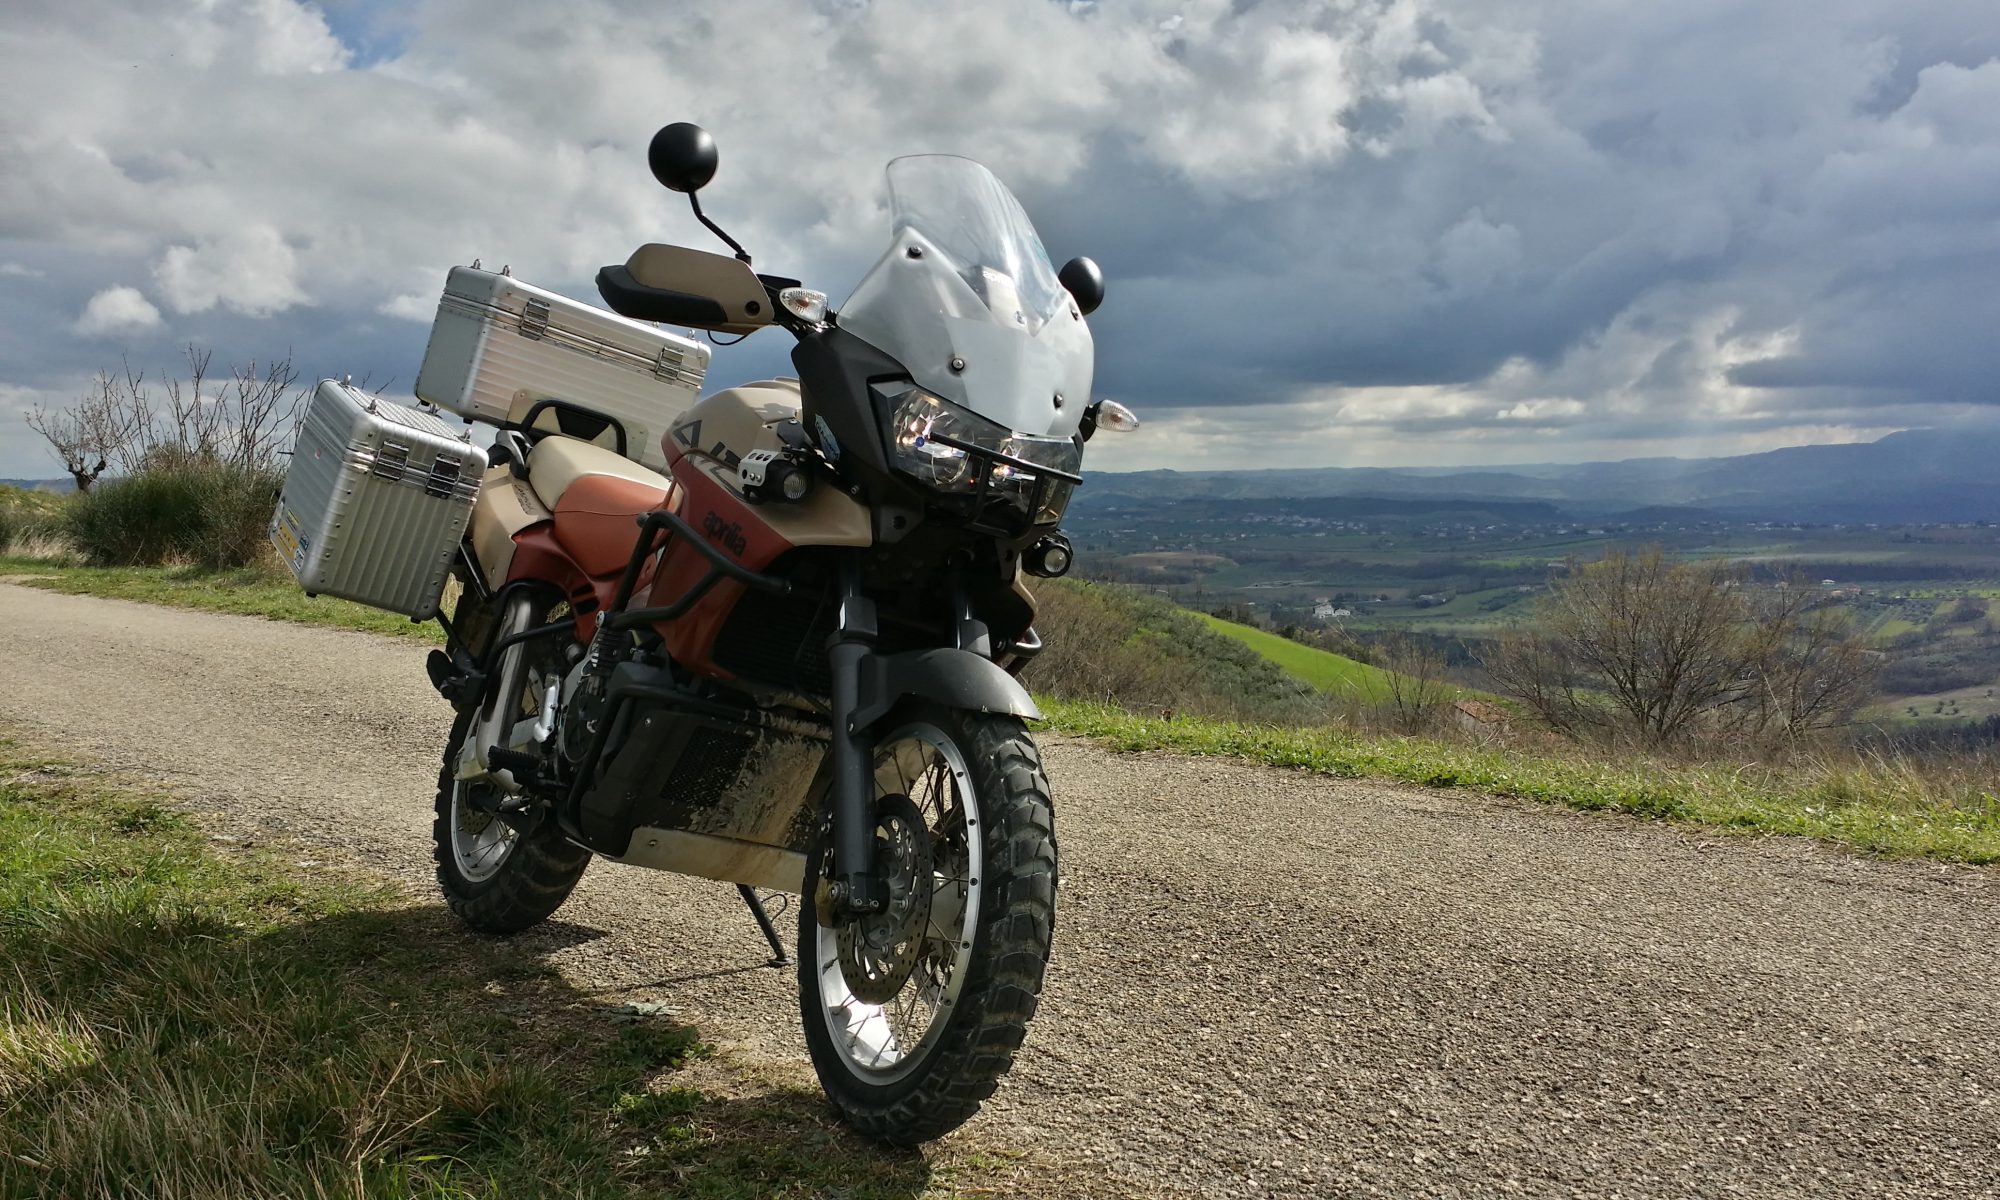
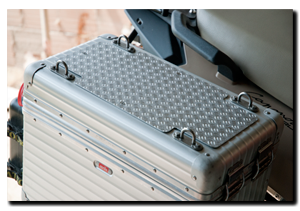
I’ve written before about the good and bad points of the Aprilia (Rimowa) panniers, but one of the niggles I never mentioned was the carry handle on the lid. I never use it and the damn thing gets in the way.

So after a happy couple of hours cutting, sanding and drilling … they’ve been replaced by a nice piece of checker plate. A vast expanse of flat surface on which to make a brew and sort out my sarnies and nibbles. Smashing stuff!

Now I’m looking for a set of ‘pannier-top’ bags to finish off the job … bags to put the afore mentioned sarnies and tea brewing paraphernalia into. No more unstrapping panniers to delve inside for munchy stuff, it’ll all be on hand at the ‘zzzz‘ of a zip ….

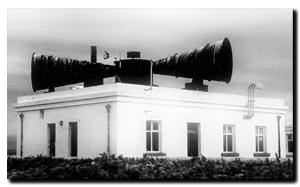
Just call me ‘Hornblower’!

As an Bike Instructor I’m almost daily pointing out what the Highway Code has to say about the horn:- It’s ‘there to alert others of your presence’. In other words, use it if necessary to avoid a developing hazard becoming a major incident.

When something affects your safety, real or perceived … give a quick double tap of the horn! One long blast just puts peoples backs up, it’s aggressive, a double tap of the button can be an ‘Oi I’m here!’ as much as a ‘Hello, haven’t seen you in a while’ …. it’s ambiguous and inoffensive, but gets attention none the less. It’s a tool – use it if it’s going to help!!!

This is all well and good, if you happen to have a decent horn that is……

So the other afternoon,  there I am, cheerfully taking avoiding action with my thumb jammed on the horn button as my right knee is tickling the driver’s door handle of a VW Golf that not only didn’t stop for a Stop sign …. but jumped the junction at a paint-peeling pace to boot. Not only did she not look, she’s still sublimely oblivious to the impending 350Kg  of lap-Capo heading her way!

In amongst the swerving, braking and tutting …. I realised that the tooting element  wasn’t doing much in the way of attracting attention. Sad to say the toot was more like an ants asthmatic wheeze. My fault really, I said it back in 08 and I’ll say it again, the damn horn that Aprilia fitted has to go!

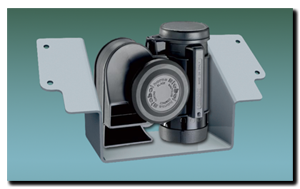
Back in the relative calm of the barn, I reflect on the moments entertainment and vow by Beelzebub’s butt, I’m not having that happen again in a hurry. I want the horn replaced, improved – something more blessed with decibels. Not quite a wall breaker, more a bowel shaker! There is it turns out, but one horn that fits the bill ….. the fearsome Stebel Nautilus.

So a ‘Nautilus Compact tuning’ in black is ordered from Fleabay and I set about making mounting brackets to fit it where the ABS unit would go if I had ABS, which I don’t. It fits nice and snug in the space below the relays and coils, behind the rear suspension unit and seems to be pretty well shielded from road crap. The existing Grey horn wire behind the headlight, is tapped into, shielded and run back to the new relay. Yes, the horn needs a relay to operate as it draws 18A … that’s a toasty 216w … or 10 sets of heated grips worth of electricity to you sir! And yes, before you ask – it’s protected with a waterproof 20A fuse. So now the existing horn and the new one work in parallel … if one fails, I have a backup!

Of course I’m biased, I think it’s better … but the real test ladies and gentlemen, the definitive before and after toot-test, is for you to decide.  Place your ear close to the speaker … closer than that, close your eyes and concentrate. Can you, discerning listener, tell the difference?

[audio:https://www.moto-abruzzo.net/wp-content/uploads/2011/06/Stebel-Nautilus-Compact.mp3|titles=Std Horn V Stebel Nautilus Compact]

Reasons to be cheerful ….. pt3

A tickle round the mountain, five logged files and two and a half hours of logging later …. it’s no longer a work in progress, it’s a runner!

It may only be a couple of weeks ago that this little project kicked off, but for the life of me, I can’t quite remember why I started, or in fact where I really thought it would lead. So I guess this is most definitely a natural end to this part in the development cycle. It starts, stops, logs and displays more than I originally intended. I guess there’s nothing more to do except get logging!

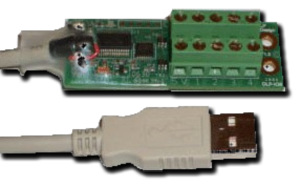
As for the other stuff on my wish list ….. well the aquisition of external info such as speed (measured not GPS), brake line pressure and gear position may well be handled by this little device. 8 x 5v analogue inputs should be fine … all looks fairly straight forward in the instruction book anyway. We’ll see!

So what have I learned from the data so far? Firstly, the air intake temperature is a fairly consistent 15ºC above the ambient air temp at all times – higher when the bike’s in stop-start traffic ….. all very power-sapping. Secondly … truthfully there isn’t a secondly just yet, but what I’m interested in looking at on the next couple of runs, is the barometric (air pressure) data. It’s measured in the airbox and with the restrictive ‘snorkel’ in place I’m expecting to see a drop in pressure at high RPM/throttle opening …. but will the data bear this out? And how much will it fluctuate by?

Caponord Datalogger Pt2

Wow what a whirlwind learning curve the last two days have been. Thanks to a Brain that (unusually) suffered the minimum of ‘Blue Screens’ and a patient wife who put up with all the muttering, mumbling and furtive running to and fro I now have a datalogger that is receiving info from the GPS and adding it to the log.

No doubt, chicken feed – a mere stroll in the park to any reading programmers …. me, I’ve taken out a lifelong subscription for Anadin! So, deep breath, sink a beer and pencil out the next step ……. I’m starting to get a liking for this digital-crochet lark!

I’ll try and get a snippet of video to post up so you can see it working ….. or crashing, whatever it decides!

A datalog slog

As many of you are aware, last year was a breakthrough one for Capo owners because we got the fantastic (and free!) TuneECU software. One thing we haven’t got though, is a datalogger …… the only thing I’ve seen to date is the very basic offering with the extortionately priced TuneBoy software.

One thing he did though, was supply the Visual Basic 6 source code with it – and that set the old brain cogs whirring once again. Could I turn my hand to programming and figure out how to do the job myself? Well it’s been a week or so and if I say so myself, I’m rather chuffed at the progress so far. It took a few days to get my head  even marginally around what the hell I was looking at … and a few more to port it over to a more modern (Visual Studio) software and deal with the additional problems that caused.

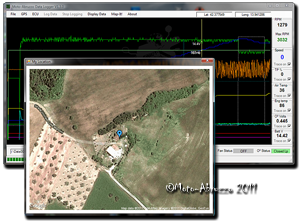
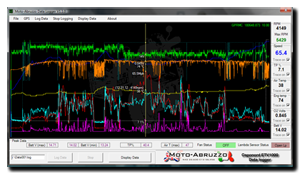
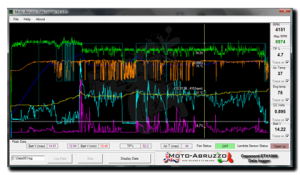
Anyway, here I am on a sunny Tuesday afternoon with a couple of screenshots from the little darling as it did the business with the Rally Raid.

So what’s it do?;

  • Logs RPM, throttle position, Air temperature, Engine temperature, O2 Volts, O2 Status, Cooling fan activation and Battery volts.
  • It also calculates and logs Maximum RPM, Minimum and Maximum battery voltage ( twice for minimum – starting and general running), Maximum Air Temp and throttle position.
  • The graph initially projects the complete data run and can be zoomed into for extra detail. The cursor locks onto the data plots and displays the reading from that point.

It looks as though data files are about 100Kb per hour in size, so storage space isn’t going to be an issue ….. unless your logging to a ZX81! There’s still more tweaks and twiddles I want to make but the majority of the work is done ….. the down side? Well, because it’s a derivative of the TuneBoy package, it uses the same modules to connect to the ECU – and therefore, needs the a TuneBoy cable. So if you haven’t got a TuneBoy cable …………………

Extra stuff I’d like to do;

  • Add GPS location/Speed data to the file from my Garmin.
  • Add a timecode or some way of keying the log to a video/audio feed.
  • Add extra analogue inputs via another USB – brakes, fuel pressure etc.
  • Tea making and cashpoint functionality ….. eh???

But of course, one step at a time …… chickens in, dogs walked and fed, play with kittens …. oh look it’s time for bed, maybe another day. Night, night.

Bug in TuneECU 1.9.3 regarding Sagem ECU

A new version of TuneECU has been released that may well be relevant to Caponord/Futura owners. If you have recently downloaded version 1.9.3 ……. remove it as it has a bug with regards to communication to/from the ECU. A new version 1.9.4 has been released (Monday 16/05/2011) that fixes this issue, although this is untested at the time of writing.

‘Deuce of Spades’ a film by Faith Granger

Stepping away from the Aprilia for a moment … away from the world of bikes even, just a quick word or two about an excellent Hot-Rod film.

The centre piece is a 1932 Ford Deuce Hot-Rod owned by Faith Granger. Faith also happens to be the writer, producer/director/cinematographer/editor …. chief cook and bottle washer and most definitely the driving force behind the production of ‘Deuce of Spades’. Oh, and she acts in it and sings on the soundtrack! It’s a simple story about a simpler time, about lost love and second chances, mostly shown in flash-back to the mid 50’s after the cars new owner (Faith) finds a letter lost in the bodywork for over 50 years.

Can she unravel the story of the Deuce and its owner Johnny Callaway?

Ok, so lets be ruthlessly honest … there’s nothing really new here, bad boy meets good girl, loses good girl, loses car. Car gets squirreled away until our heroine finds it …..

Oh boy, that sound so cynical ….. because it’s much, much more than the underlying script. Through excellent photography and an attention to detail second to none, you are there, in the 50’s ….. surrounded by the most delicious pulsing of  fine-tuned v8 engines doing there stuff, lazy summer nights, white T-shirts, Coke in bottles and testosterone fueled midnight drag-racing!

What I feel makes this film so special is that Faith is an independent film maker … working a normal job and filming at weekends on a shoe string budget. I’m not going into the details, suffice to say, please go and read about Faith, her 32 Ford and the making of the film here:

http://www.deuceofspadesmovie.com/

Beg, steal, borrow or better still …. support Faith by buying a copy!!! Until then, here’s a movie trailer.


The slippery slope to oblivion.

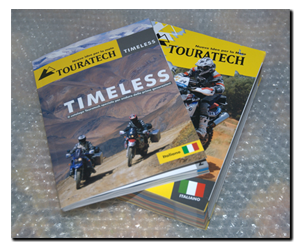
Aprilia Caponord ETV1000 Rally-Raid - slowly dissapearing from TouratechThe new 2011 Touratech catalogue turned up yesterday – well both of them actually. The main phone-directory tome (all 1,219 pages) and the positively sylph like ‘Timeless’ catalogue for “Enduros of the first generation”…. no doubt sporting a nice line in aluminium false-teeth containers and enduro incontinence pants!

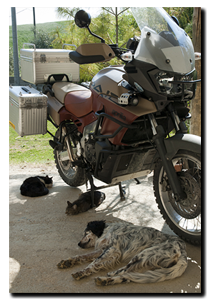
Well I thumbed through both … then thumbed again. Oh dear, it appears the Caponord no longer gets its own chapter. In fact its accessories are relegated to a chapter called ‘Travel Enduros’ …. us and the Triumph Tiger 955i. No longer worthy of our own pages we’ve shifted sideways to the Twilight Zone pending a place in the ‘Timeless’ catalogue of 2013 no doubt. Or are we destined to be wiped from the accessories catalogues for good?Aprilia Caponord ETV1000 Rally-Raid - good shade for the animals!

Some bikes of course become the darlings of the media, some the riding public – and some are  a hit with both. The Capo though, slipped through the net. Neither loved or hated by the press and frankly let down by Aprilia themselves by virtue of a poor dealer network, hardly the stuff that attracts hard earned dosh to swap sweaty palms. The public hardly got to see one, let alone try it … so the Capo came and went … and wasn’t missed with its passing. That, frankly, is tragic.

Oh well, mine still makes for a nice bit of shade ……

Oils well that ends well

A last item remained on the Capo service ‘To-Do’ list … fork oil replacement, a job I hadn’t tackled before. It turned out to be a nice simple job, the only fly in the proverbial being the Aprilia document itself ….. or to be more exact, the amount of oil specified in the document.

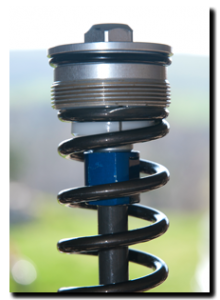
Firstly lets clarify terminology – the shiny 50mm shaft clamped to the bike is the ‘fork tube’, the painted part that holds the wheel/mudguard is the ‘fork slider’. The complete thing is the ‘fork leg’.

Removing the wheel, mudguard, crash bars and lower fairings only takes a few minutes and with the bike snugly supported below the sump guard, it was time to remove a fork leg. Tip1 – break the seal of the fork cap first (19mm socket) before dropping the leg out, Tip2 – only remove one leg at a time, it makes both the job and re-alignment much easier. Releasing the clamp bolts with the bodywork removed as you can see from the pictures, also makes for less hassle, swearing and knuckle grazing as well!

Once out, secure the leg vertically and remove the cap completely. I found it easier to hold the cap still and rotate the fork tube anti-clockwise to do this … don’t worry, nothing pings out under spring pressure on this type of fork. Once undone, you can let the tube drop down, oil won’t pour over the brim. Next, you have to remove the cap itself from the damper rod … use a 19mm spanner to break the seal between the locking nut and the cap. Once done, you can remove the cap by hand – again, don’t worry about spring pressure. The spring releases all it’s tension before the cap comes off.

Put the cap to one side and slide the spring out – make sure you have plastic inserts still attached at each end. Do it slowly to allow the oil to drain back down the coils and back into the slider … much less messy! No doubt the damper rod dropped into the slider, it’s not a problem. Now you’ve got to drain the oil out. I place a finger across the end of the tube to catch the damper rod and spring spacer while draining the oil. Once drained, tip the whole thing upside down and catch the spring spacer – careful the damper rod doesn’t shoot out and damage itself by hitting the bench. After pumping the slider/tube and damper rod, several times leave the leg upside down to drain for at least a few hours.

Clean everything and when you’re ready, start the refill. Now the book says to refill with 680cc of oil – 130mm below the lip of the compressed leg. The problem is that if you do this, oil will pour over the rim of the tube – clearly wrong! The book is also very woolly regarding oil grade and never mentions the grade that was used by the factory. Comparing the old oil to 5/10/15/20w fork oil, I’m pretty confident they used 10w, however I chose to use 8.5w based on load and riding style. After some experimentation and riding, this is the refill that works for me (updated 03/09/2014).

  1. Insert the fork spring spacer and compress the leg completely.
  2. Fill the leg to a depth of 115mm ±2mm (130mm ±2mm in the book) – blended 8.5w fork oil works for me. This is approx. 600cc of oil (580cc for 130mm air gap).

Remember to extend and compress the leg / damper rod while filling to expel as much air as possible. When done, rebuild and refit the leg. Repeat the exercise with the other leg. One fork leg controls rebound, the other compression damping – stripping is identical though. Don’t forget to torque the clamp bolts – 25Nm (18ftlb). Reassemble the mudguard, wheel, brakes and bodywork and sit back and relax, celebrating a job well done with a nice cool beer!

UPDATE 21/07/2011

In hindsight, the original oil may well have been closer to 15w …. the only thing touched outside the factory on this bike was the fork recall at 600 miles. The oil the dealer used and the oil used by the manufacturer may well be different!

Since then, I’ve replaced it for a blend that works out at 8-8.5w …… and it’s bloody fantastic! The bike tracks well off-road and both front/rear suspension work in unison on-road. The blend used is Motul  5w (78%) and Motul 20w(22%) with a combined range of approx. cSt@40c = 29 and cSt@100c = 7.5
Linking out loud

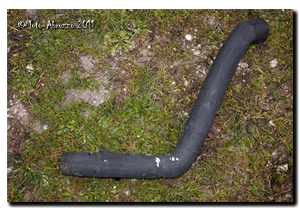
The left hand link pipe on the Quill Exhausts has never fitted correctly (it hit the swing-arm & side-stand) …. nor sadly, did the manufacturer show any interest in sorting it out. So a friend kindly offered to make a new one to replace this sad excuse for British workmanship. And here, admittedly not looking like much, is the template link pipe that I’ve just trialed on the bike for a few miles.

It fits, it doesn’t foul the swing-arm … nor does it leave one silencer sitting 30mm further back than the ‘official’ one does! Soon, a few will be made from the same 2″ stainless steel as the original, then they and the silencers will have new mounting lugs welded on to make the whole system a nice snug fit with no nasty dirt-trapping straps in sight. Gone will be the days of wasting ages tweaking and tapping to get them all to line up ….. they’ll now slide on, bolt up and be done, fit and forget in a few minutes – smashing!

After demonstrating their enthusiasm for after sales care, would I want dealings with this manufacturer again …..