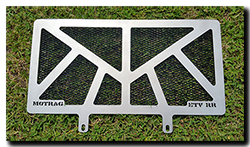
 Yesterday a whopping 15Kg parcel of goodies from Manuel at Motrag turned up. Although the box was bursting with new toys, I just focused on the one part I’d really been waiting for – the lovely stainless-steel radiator guard. I know Motrag have had lots of interest in this, which stands to reason with the Touratech guard no longer available. The only other alternative seems to be one from Ebay that could easily be copied for an awful lot less money – after all, it’s only aluminium mesh with a rubber strip and held on by zip-ties.
This guard is made from glass-shot V4A stainless-steel (equivalent SAE316 for harsh environments) with powder coated aluminium mesh bonded to the frame and weighs in at approx 750g. It is held in place by two Scotch ‘Dual Lock’ adhesive fasteners at the top of the radiator and the two fastening points that the ‘cooler spoiler’ (AP8139628) mounts to at the bottom.
Installing the guard is very straight forward …. remove the crash bars & cross brace (if you have them), side panels and spoiler panel. I also removed the tank while servicing the bike which does make access even easier, but isn’t strictly necessary. Give the radiator a good clean and take a few 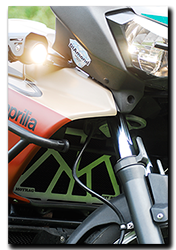 minutes to carefully bend back any fins that have been damaged by stones or jay-walking deer. Then clean and thoroughly de-grease the top of the radiator on both sides. The guard has about 1-1.5mm clearance either side when in position – I used a couple of split pins as spacers to make sure the guard was nicely positioned. Do a dry run so you get it located just right and then when you’re happy – whip off the adhesive pad protection and fit the guard for real.
Next up, I had to bond a couple of spacers onto the clips where the spoiler/guard mount – these take up the space between clip and the new guard. They can’t really be fitted when reassembling the spoiler as access is difficult – hence bonding them onto the clip first. Motrag will be supplying the adhesive in the kit! I gave it 1/2hr to dry, then began the rebuild – crash bar cross-brace, tank, panels, spoiler and finally the crash bars themselves ….. another 20 mins tops.
So, the verdict. Easy to fit with no modifications required. The fit is superb and the stainless frame is nice and stiff, so no worries about vibration induced scuffing of the radiator. As always, the Motrag attention to detail – fasteners and instructions is 100%. If there i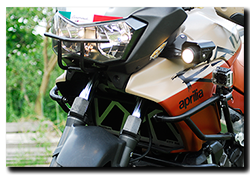 s a negative anywhere to be found, then some may question the weight … to me the Capo is a big old lump anyway, a few extra grams won’t snap the frame!
Of course aesthetics are a personal matter, but to me it looks good and is definitely in keeping with the spirit of the Rally-Raid. That just about covers fit and form, but what about function? Well I admit I’ve yet to turn a wheel with the guard in place, but I know Motrag put plenty of miles on a pre-production one and had no problems, so I’m confident it’ll work just fine. But just to be sure, I’ll post again in a few weeks when the Capo has another 3-4K miles on it.
These guards are on sale now over at motrag.com for €64.95 including tax. That’s about half the price of the Touratech guard before it disappeared off the website!
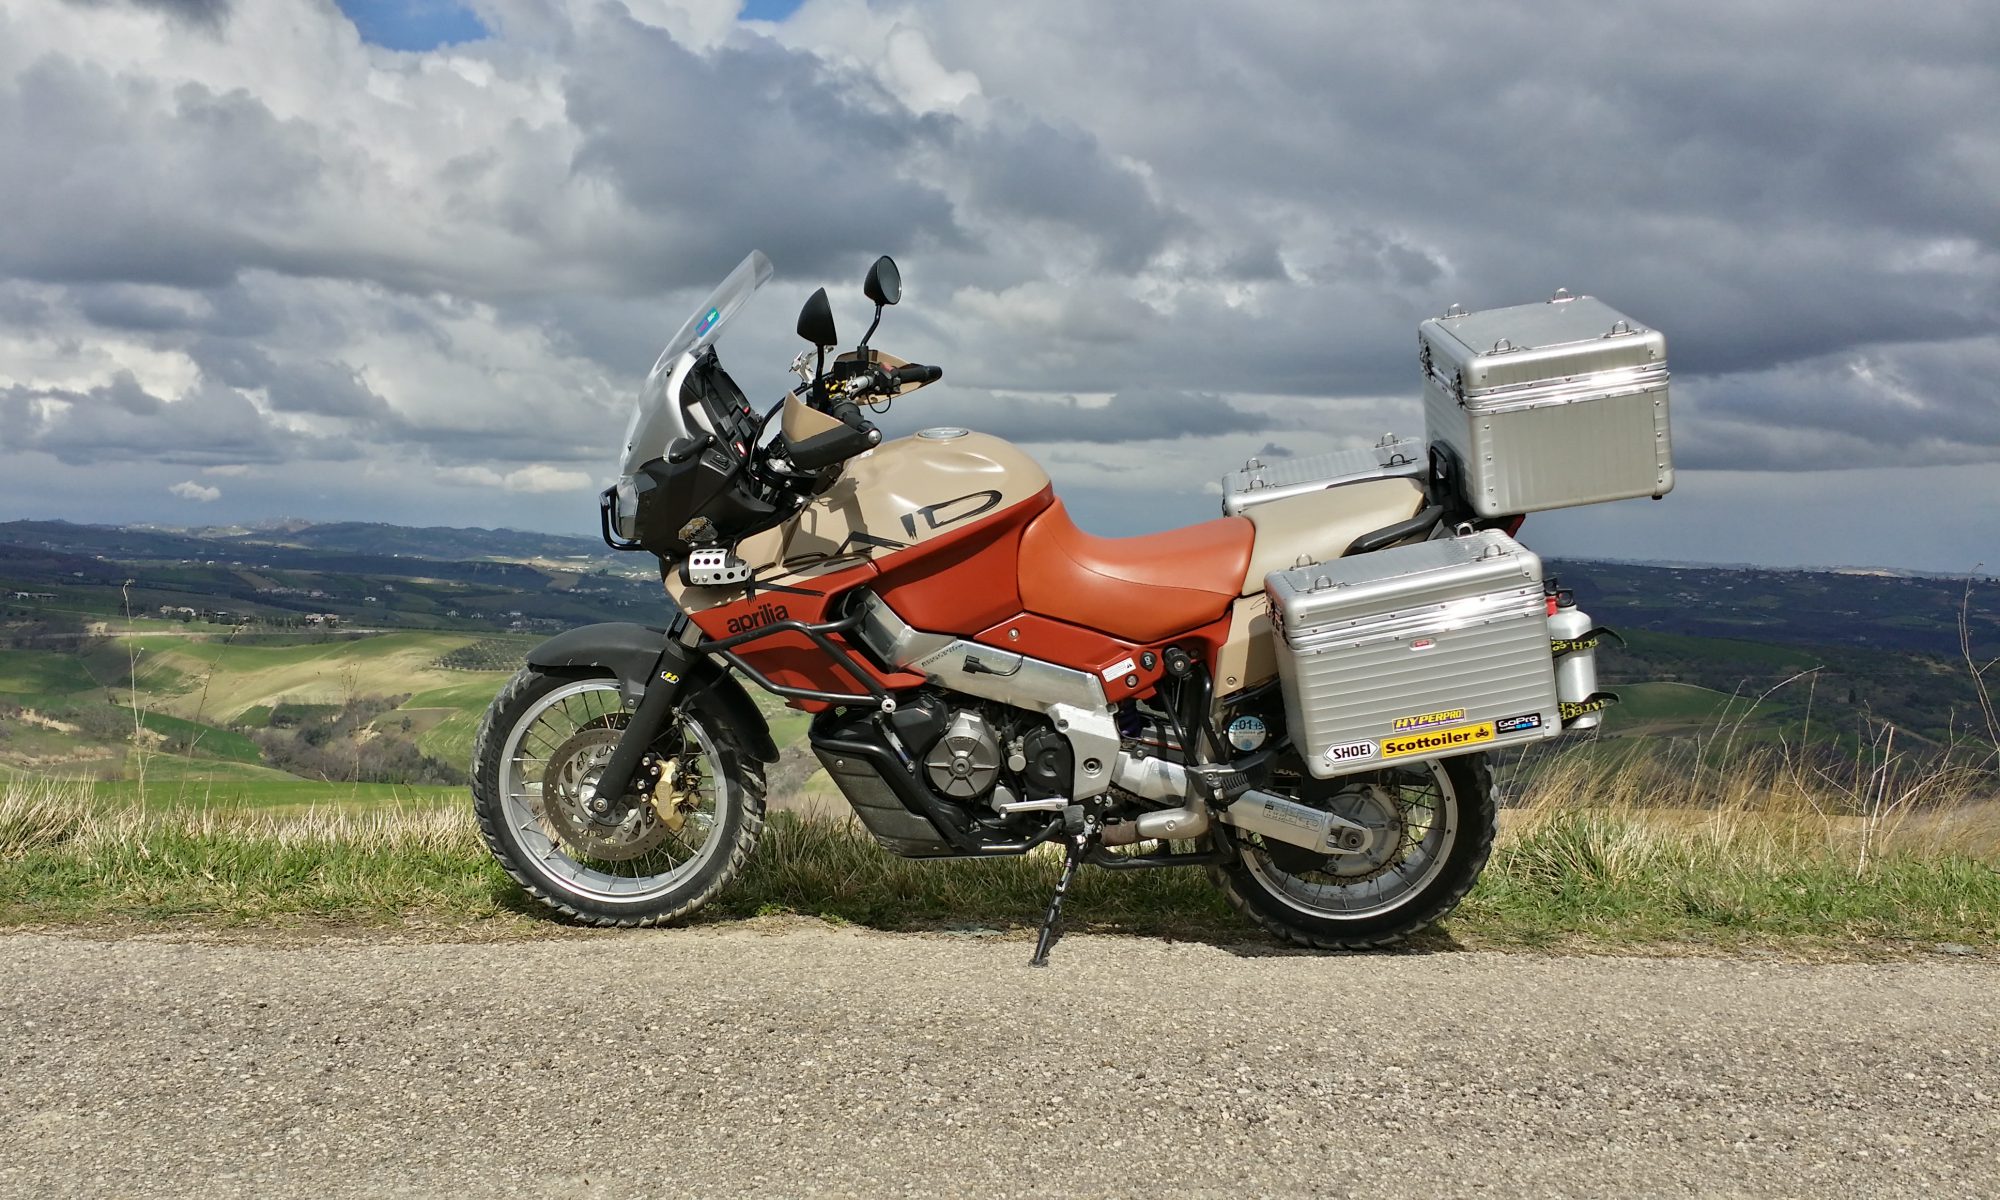


 to use the Capo far more than previous winters. That has meant the Range Rover languishing in the corner. And that has been the cause of yet more trouble.


