Oil in the Airbox …..fixed!

You may (or may not!) have read the post a couple of months ago – Fixing a few Capo niggles. That was where between Continental trips, the original air-box molded connection for the crank-case vent was drilled out and a new 90° bulkhead coupling and Aprilia Caponord ETV1000 Rally-Raid extended airbox drain tubepipe fitted to drain any oil into the front of the airbox, well away from the throttle body and IACV (Idle Air Control Valve).
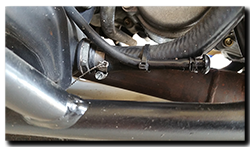
Now with the Caponord seriously (+1,000 miles) overdue a service, I got stuck in and removed the tank ready for plugs/air filter. I admit to being really pleased to see no oil what so ever in the upper part of the airbox and only a tell-tale smear in the front section. A syringe sucked what oil there was from the drain tube – approx. 5cc @ 3,000 miles WITH the oil tank filled to the HIGH mark.

Previously it didn’t seem to matter where the oil tank level was, oil kept getting thrown into the airbox and sucked down into the throttle body. Look closely at the design of the airbox and you see the ‘fenced’ in area (red) around the velocity stacks – and of course, the two slots in the stacks (arrows) for excess oil to drain through.
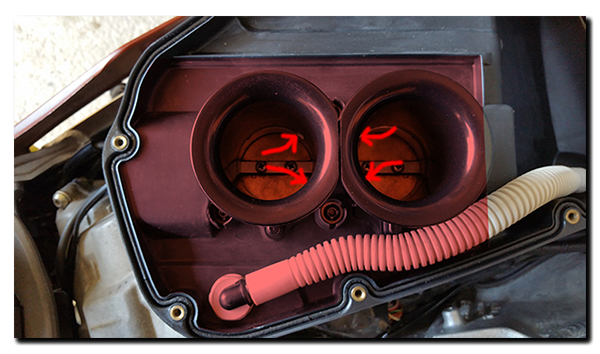
Aprilia Caponord ETV1000 Rally-Raid new crankcase drain inside the airbox

It’s pretty obvious then that Aprilia/Rotax EXPECTED regurgitated oil – and tried to ensure it was fed back to the engine and burnt. Unfortunately that isn’t always the case and when some bikes are left on the side-stand oil manages to get over the ‘fence’ and muck up places it shouldn’t!

Of course a little hot oil can spread a long way and look far worse than it really is ….. I guess it just niggled the hell out of me each time I lifted the airbox lid. In hindsight it’s one of those quick jobs I wish I’d done years ago.
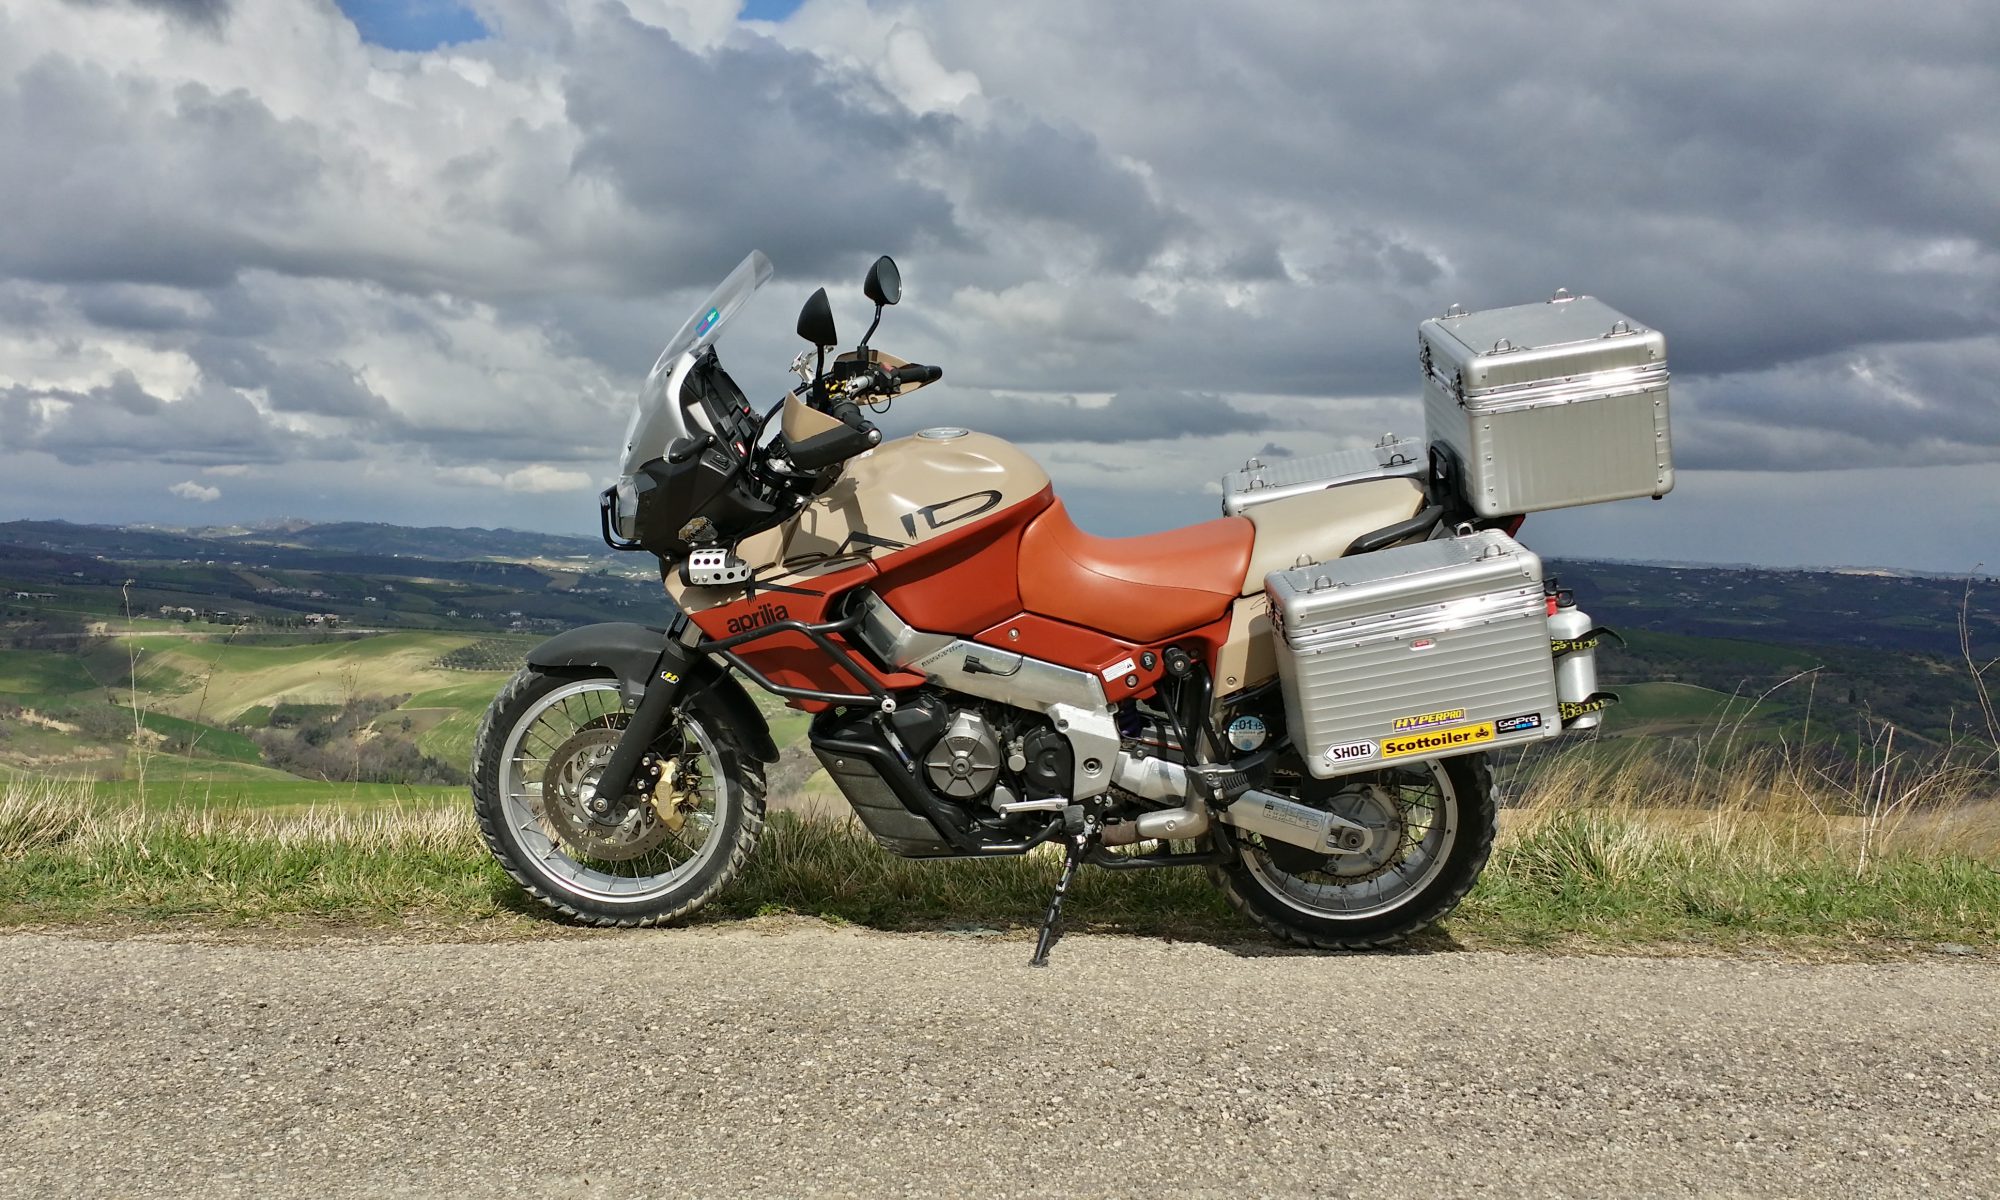
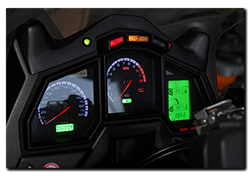
Flat-line dashboard

Franken-CapoWith just over 82,000 miles on the Caponord, the dashboard died. Yes, while about to set off from a rather innocuous little shop car park on a hot and humid afternoon, the dashboard shuffled off its mortal coil … Curled up its toes, bought the farm – as dead as the proverbial Dodo.

On the way home I mulled over the possible cause, was it the additional microcontroller/hardware I added in 2013 or simply a failure of some part of the original Magneti Marelli circuit board? By the time I got home, I had a few possibilities rolling around my head, but nothing concrete. 15 minutes after cutting the ignition, the dashboard was on the test-bench.

Ultimately the fault was traced to a ‘Via’, a hole where a signal/power track passes from one side of the board to the other. In this case, where there should have been 12 Volts, there was 2 Volts! A simple wire link bypassed the problem and the dashboard popped back into life.

So is it a design flaw or manufacturing defect? I’d say probably a bit of both! Below is a photograph of the faulty area on a Mk1 and Mk2 board. Notice the Mk2 (right hand) has a much larger track area AND has 4 Via’s instead of the Mk1’s single Via bringing power from the top of the board to the underside. All well and good BUT both boards still only have a single Via (red dot) to pass power to the regulator on the front ……….. And it’s this Via that failed!

Aprilia Caponord ETV1000 Rally-raid dashboard track

 It seems that this was known to be a troubled area and was re-designed …. sort of. But the fact that the last Via was never upgraded, simply left this as the weak link – unfortunately, one of many on these boards!

Anyway, this one’s a runner for now ……. and that’s a jolly good excuse for a run around for an hour or two to thoroughly test it out! 😀

Another trip, another exam

Aprilia Caponord Rally-Raid ETV1000 2015 MOTThe Capo and I just returned from the last UK-Italy round trip for this year … as seems the norm, the trip was uneventful and the Capo ran fantastic as always. Just before I left the UK, she had a new MOT – no advisories and good for another 12 months. 48hrs later, she rolled into the barn with the odometer reading 80,892 miles and 37c on the air temp gauge – hot, hot, hot!
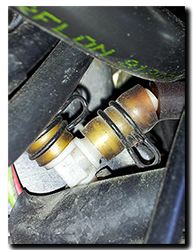
The fish-tank line used to temporarily fix the vacuum hose just before I left for the UK worked fine and is still in place as I write ….. the new silicone lines are stuffed away in a box somewhere …. I guess they’ll stay there until winter now!

LEFARSThe highlight of this trip was visiting LEFARS (Loughton and Epping Forest Amateur Radio Society) once again. This time to take the RSGB Amateur Radio Intermediate practical assessment and exam. I had a great day, a mixture of learning, testing and having a good laugh in a relaxed atmosphere all leading to an exam pass and a new call sign next week. Goodbye M6FMZ, hello 2E0??? ……. maybe I can get ETV this time!

Now I can concentrate on the distance-learning course I started in June for the final (Advanced) licence. No more practical assessments, just a 2 hour exam to be sat in December, if everything goes to plan!

On a different note I have to say a HUGE THANK YOU to Andy (Beasthonda) and his employer ABSL Space Products. It seems they decided to give away a bunch of perfectly serviceable bench power supplies they were replacing, rather than scrap them. Andy thought of me and now I have a very nice twin – Thurlby 30V-2A PL320. It’s absolutely fantastic and ideal for the stuff I’m doing with Arduino/sensors and development boards. Andy I owe you a nice cold beer …… ABSL I’ll definitely come to you when I launch my first satellite!

And finally back to the Capo. Well she’ll have a couple of months of light use then a partial strip ready to take a bunch of brackets, plates and tube-work back to the UK for powder coating. Then over winter, for the first time ever, a major tear-down of the steering/rear suspension and quite likely a complete replacement of all the Earth (ground) lines as well. I might even get around to doing the fuel tank lining with Caswells when I replace the fuel filter …… very messy but in the face of the dreaded E10 fuel – neccessary.

Down the tubes

Boy doesn’t time fly. It only seems a few days ago (weeks really!) I got here and already I’m packing again to head back to the UK on the Capo. Other than a check over, the Capo’s as she came back – unwashed even.

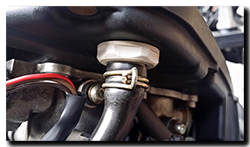
Aprilia Caponord ETV1000 Rally-Raid vacuum pipesBut this morning, with only a couple of days to go, events took a turn for the worse. Off we went for a little run around and suddenly, out of the blue, she’s running rough at idle …. Cough, cough, snuffle and splutter. In all honesty, only one thing came to mind – vacuum pipes.

Anyway it didn’t spoil the day and we got home with no drama (she ran fine at higher rpm) and 15 minutes later the tank was lifted … and here’s the culprit. One split vacuum hose on the front cylinder. So for now a generic bit of fish-tank plastic line has been press-ganged into service and a couple of nice new silicone hoses have been ordered of Ebay – one blue, one red. Colour coded vac pipes for each cylinder!

After 12 years and with almost 80,000 miles now on the clock I guess it’s probably a job that was getting towards the top of the to-do list!

All teeth aren’t equal!

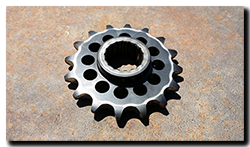
Aprilia Caponord ETV1000 Rally-Raid Sunstar 16T front sprocketA good few year back when I had a Triumph Trophy 1200, I had an issue of excessive noise from the chain/sprockets – especially on the over-run. They were almost new and as far as I could tell, it was correctly tensioned. It drove me mad for a week or so, until I decided to try changing out the front sprocket, why I can’t remember, but it worked.
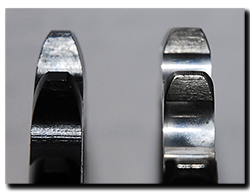
Now the same issue has raised its head on the Capo. The Sunstar front sprocket was fitted at the same time as the chain/rear sprocket, so about 3,500 miles ago give or take. Gradually I began to get a noise – mostly on the over-run that progressively got louder as the miles piled up. Once again, chain tension was fine, the slipper block in perfect condition – no obvious reason for the noise. What had changed?

Aprilia Caponord ETV1000 Rally-Raid front sprocket - Renthal & SunstarThe only difference I could think of is the make of sprocket. I’ve always used Renthal since I got the Capo, so the Sunstar was a step away from what I know and trust. Back to a Renthal 407-525-16P it is then.
And …….. all the noise has gone! Yes a good run around yesterday afternoon including annoying the hell out of an R1200GS rider desperate to give me the slip, proved once and for all that the Sunstar was the culprit. It certainly makes me think that the profile of the teeth may well have something to do with it, maybe that’s the reason Aprilia fitted a sprocket with cush-rubbers?

Fixing a couple of Capo niggles

Aprilia Caponord ETV1000 Rally-Raid airbox / crankcase vent modificationOne niggle that has wound me up more than anything about the Capo over the years, is its unerring ability to regurgitate oil into the airbox – apparently no matter how much or little I fill the oil tank. In the end, enough is enough, time to do something about it.

So this is it, remove the molded spigot/structure into the airbox and replace with a new low-profile 90° coupling and pipe to dump regurgitated oil into the front section of the airbox, from where it can be drained off via the extended drain-line down by the oil filter. Hopefully no more lumpy idle and intermittent ‘cough’ coming off idle after extended (12Hrs+) runs at motorway speeds from the vented oil draining down into the throttle bodies. A better fix of course would be to build a trap before the airbox that would allow oil to drain back the way it came while still passing vapour into the airbox. That’ll wait until winter, for now I’m hoping this will work good enough.

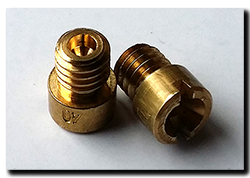
Aprilia Caponord ETV1000 Rally-Raid clutch oil jetsSecondly, and I don’t mind admitting when a change to the Capo doesn’t work – I’ve gone back to the #60 clutch oil jet from the #40. Why? Simply because the benefits were outweighed by the losses …… yes the #40 jet made the initial 1st gear selection go from ‘CLONK’ to ‘clonk’ but it also buggered up all subsequent gear changes, gone was the silky smooth shift that I’d had with the #60 jet. In the end I would say that if your Capo shifts gears smoothly and doesn’t have an issue selecting Neutral, then leave well alone. I’m sure for those with no jet, a blocked jet or a nasty gear shift this may well be a worthwhile modification, for me I’m glad to have the old slick-shift gearbox back again.
And back again ……

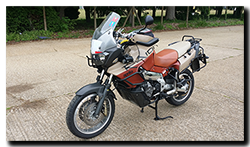
2003 Aprilia Caponord Rally-Raid ETV1000The Capo and I touched down back at home a few days ago with the odometer just over 77,750 miles …. a whizz around the block and we might have made a photo-op 77,777 but I was simply too knackered to bother! Capo ran strong and solid as always, so no news on that front. Anakee 3’s are wearing very well (3,050 miles in three weeks) and are certainly a nice change from running around on knobbly tyres …. it’s rumoured I even let (what remains) of my hair down and had a little play while in the UK.

Now We’ve got a few weeks before we do it all over again – time enough for a scrub up and check over, but frankly the way the Capo is running I could load up and leave right now with no worries. Which is great as I need a bit of time to do some revision ……

LEFARS….. for my next Amateur Radio exam! Yes, while in the UK I went along to a fantastic weekend organised by LEFARS (Loughton and Epping Forrest Amateur Radio Society) where I sat the RCE Foundation Licence exam – and passed! 😀 I have to say a huge thank you to all concerned for their time and dedication and for making the weekend a real enjoyment. So now I have the call-sign of M6FMZ and hopefully, if all goes well I’ll move on up to the Intermediate licence before the end of July (exam booked!) and maybe ….. just maybe mind ….. I might even get the full (Advanced) licence under my belt before Christmas, that would make a fantastic end to the year!

I searched high and low for a course closer to Oxford and unfortunately drew a blank until the back-end of the year, while LEFARS could squeeze me in on their May course – LEFARS it was then! The round trip from Oxford was about 130 miles(ish) and mostly motorways – so pretty quick. In the end I’m so glad I chose them, excellent venue/parking, tuition and most importantly – a good brew and well stocked biscuit tin! 😀 If a personal recommendation means anything, then mine says consider LEFARS if your thinking of taking up amateur radio. I’m damn glad I did.

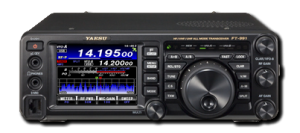
New toy perhaps? Hmmm……..

Yeasu FT-991

Just in the nick of time ……

20150524_131318Just when I’m done-and-dusted, the tools put away and the pannier-packing well underway with only 12hrs before leaving – Manuel’s (Motrag.com) parcel arrives with more goodies for the Capo! I really didn’t think it would be here in time, so I’d planned to fit the box-contents on my return …. but they’re here now so what the hell!

First off, a nice new left-hand lamp bracket and stronger angle-bracket with a funky new fastener – all to mount the GoPro tripod mount base. As usual, beautifully finished and perfect fit. Thanks very much for this Manuel, let’s see what the GoPro makes of it!

Next, one of Motrag’s new GPS mounts for the Rally-Raid. This one is for the Garmin 590LM and can be fitted directly to the supplied bracket or direct to the Accosoto cross-brace where the existing Touratech Garmin 2820 mount sits. Neat and unobtrusive (unlike an empty Touratech mount) it’s functional, yet simple. I’m really looking forward to trying this out (and the 590LM) in the coming weeks as the poor old 2820 has most definitely got a touch of dementia these days – it frequently forgets what day it is, or what country it’s in, bless it! More on this bracket in a later post.

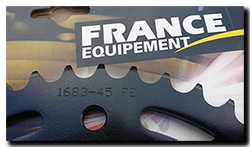
20150508_180804And lastly, the replacement rear sprocket and DID drive chain. A nice slotted-steel sprocket from ‘France Equipement’ in black. I must admit to having never heard of them before, but fit is fine and the finish seems solid enough, so we’ll see what the miles make of it. The ZVM-X (in Gold/Gold) chain is the replacement for the ZVM² that has been on for a staggering 53,400 miles ….. yes one chain, one rear sprocket and three front sprockets for over 53K miles, I’ve never had one last like this before. The only thing negative I can muster against it, is that all the Gold wore off years ago – nowadays it’s just a plain old silver chain!
That’s it for the new stuff but Manuel had one more nugget tucked away in the box for me – a very clean and crack-free pair of inlet rubbers! After reading my post from a few days ago he decided to slip a pair in the box to replenish the MA spares stock – cheers Manuel you are a start indeed!

I’ll end by saying that while some of these items are product testing or favours between friends, I have to make it clear that the chain and sprocket were purchased from Motrag just as anyone else can. The price is extremely competitive and shipping very quick – so next time you’re in need of bits for your bike (not just Caponords), consider having a look at Motrag.com or emailing Manuel to see if a fellow owner/rider/engineer can help you out, I know I’d rather put a few Euro’s his way than in the pocket of some faceless multi-corporation any day of the week.

Bye bye Karoo 3 …. hellooooo Anakee 3!

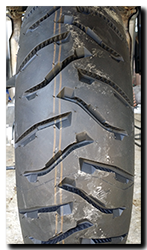
Aprilia Caponord ETV1000 Rally-Raid with Michelin Anakee 3 tyreWell yesterdays arrival of a spanking pair of Michelin Anakee 3’s makes the total number of tyre types fitted to the Capo a head spinning …… 5. The OEM fit Tourance, oodles of TKC80’s and Karoo 3’s and one fantastic set of Anakee 2’s. They were by far the best with excellent grip and long life – so the Anakee 3’s have a hard act to follow, I wonder how they’ll compare.
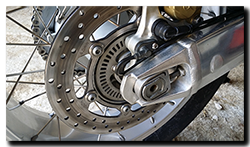
With the back wheel dropped out, I decided to give everything a once over and quick scrub-up – nice and shiny like. The vernier showed the rear disk had finally met the minimum thickness (4.5mm), so off it came and on went a nice almost-new one from an Aprilia Caponord ETV1000 Rally-Raid rear wheel and disk with Michelin Anakee 3 tyre07 bike …. a floater instead of fixed. Now I must admit to being more than a little perplexed at what the hell Aprilia were thinking about when making the rear a floater – front yes, but rear! What for, where’s the benefit? With 74,710 miles on it, I can’t ever remember riding around thinking ‘damn this bike’s just screaming out for a floating rear disk’ But in the end, it’s what I had in my sack of goodies, so it’s what went on. With the rear done, the fronts looked a little sorry for themselves, so I pulled them off and gave them a once-over and spring re-tension …… I must say they do look rather nice again!

Rear wheel bearings, seals and cush rubbers are original and all in perfect condition, so the spares can stay in the cupboard for a while longer yet. The front bearings and seals that I replaced back in 2009 (@11,700 miles) are also fine – packing the void between the bearings and seals to prevent water getting trapped seems to work wonders! So now she’s all buttoned up and a final wipe with a soft cloth and ACF50 to fend off the corrosion gremlin should do the trick nicely.