UV and dashboards don’t mix!

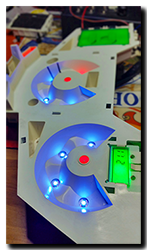
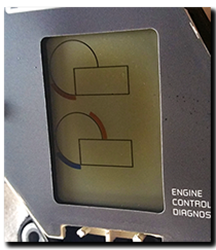
Aprilia Caponord ETV1000 Rally-Raid sun damage to dashboard LCDThe youngest Capo dashboards are about 10 years old now, maybe a little older, while the majority including the Futura are knocking on 14 to 16 years old. Every board that I see these days has very poor light output on the Blue LED’s and signs of UV damage to some degree in the lens. Most worrying though is the marked increase in the number now showing UV damage to the large LCD panel.

LED’s of course can be replaced, so can the lens if you can stomach the €60 (Wendel Motorräder) or £52 (Fowlers UK) and have plenty of patience while you wait an eternity for it to magically appear. However the LCD panel is a different matter, you’ll need to find a damaged/unserviceable dashboard you can rob or replace the dashboard in its entirety as these parts are unobtainable and were never sold as spares by Aprilia anyway.
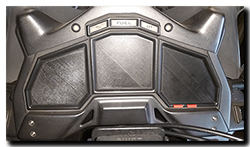
Aprilia Caponord ETV1000 Rally-Raid dashboard instrument panel lens cover protection UVFor quite a while now I’ve taken to slinging an old t-shirt over the dash when parked up in an effort to offer it some respite from the elements. Not perfect I know! So a while back it got me thinking about knocking something up on the 3D printer – and here they are. Three panels, 4mm thick with the underside recessed 1.5mm to keep it well away from the lens. A groove runs around the edge to take the same 3mm diameter neoprene seal material (AP8120615) as used between upper and lower airbox halves, so only a thin strip of soft seal actually makes contact with the lens.

Aprilia Caponord ETV1000 Rally-Raid dashboard instrument panel lens protection covers with neopreneIf these turn out to be half-way useful, I might treat them to a layer of Zircoflex heat shield material and replace the flagging heat shield material on the plastic panels over the silencers at the same time!
Charge of the fright brigade

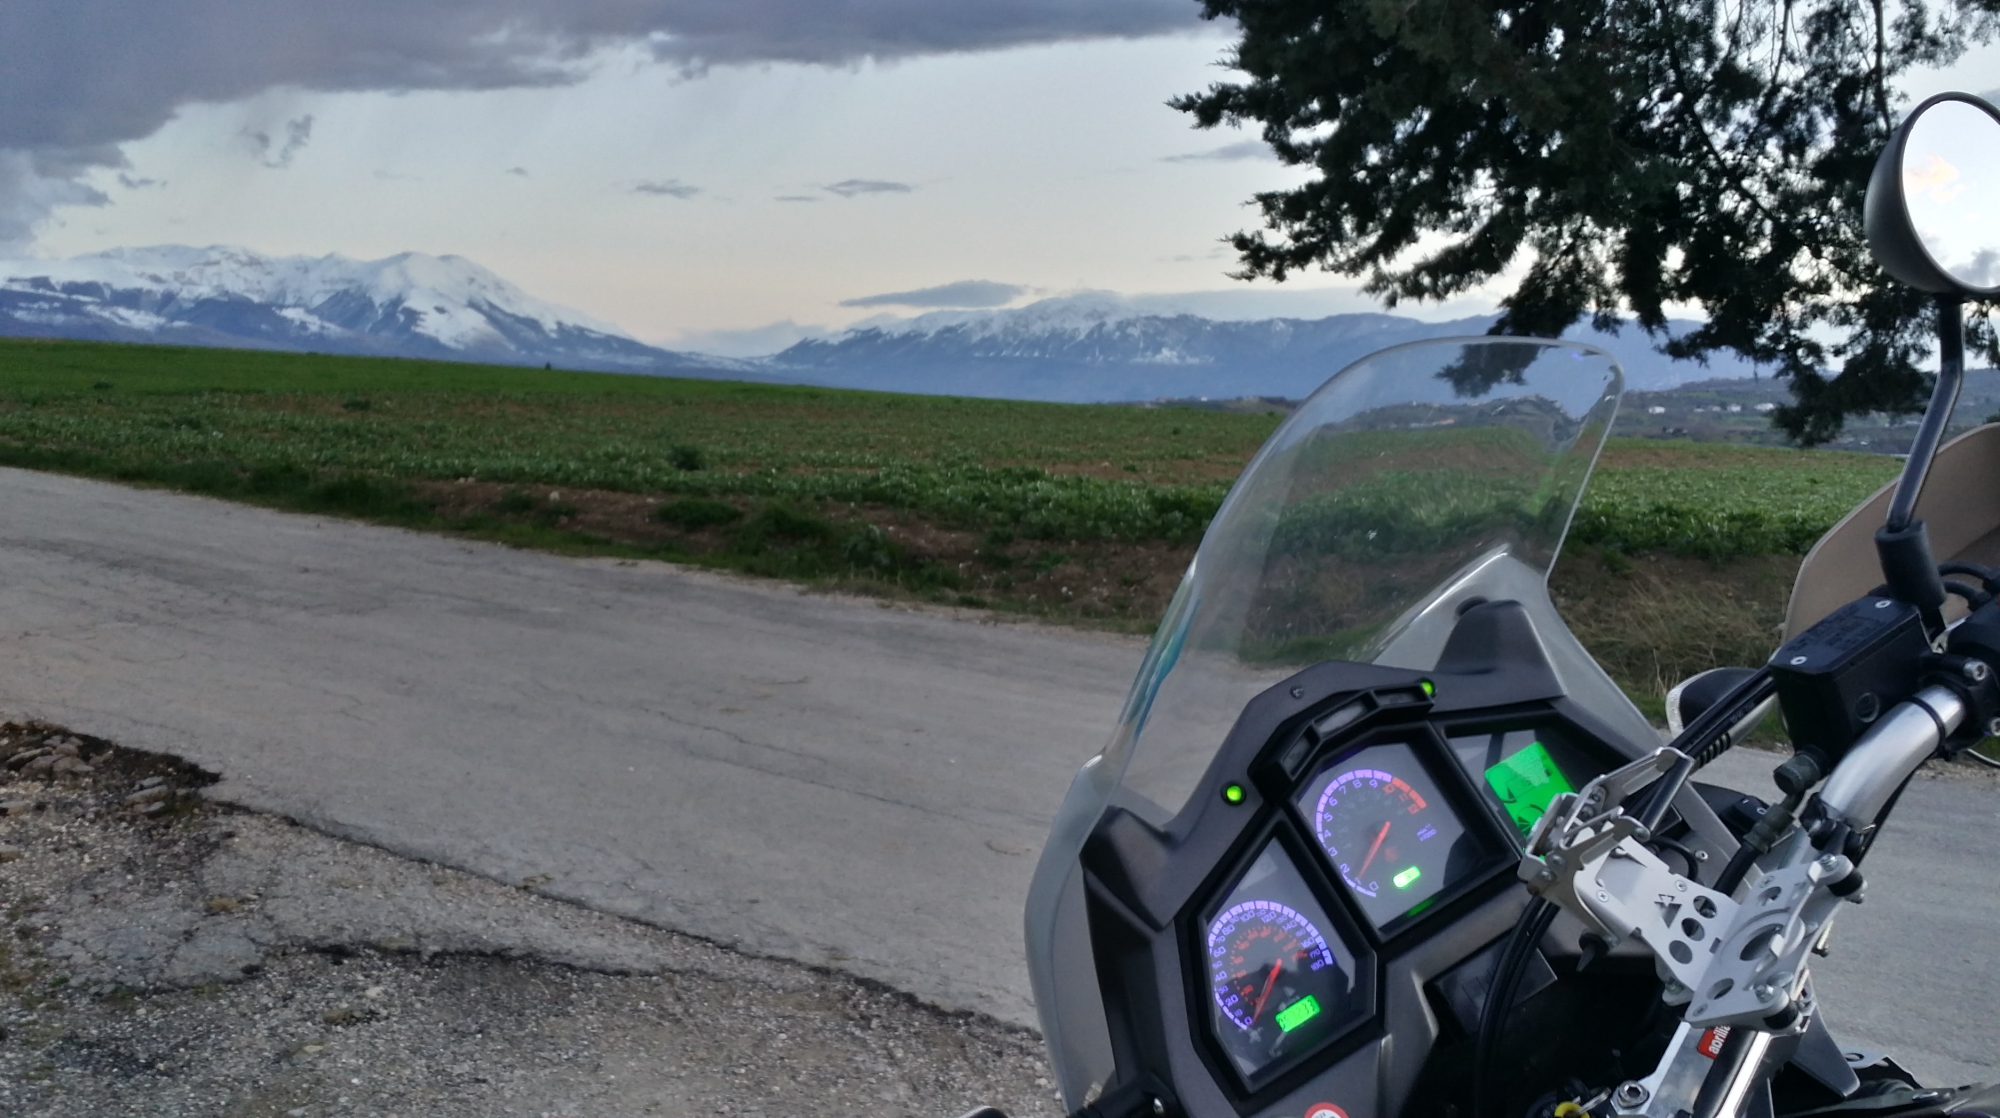
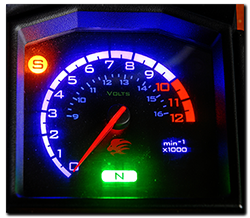
Aprilia Caponord ETV1000 Rally-Raid tachometer voltmeter dashboardI had a bit of a stress-monster moment last night. After finishing off a bit of work on the Capo, I fired it up and stuffed the multimeter probes across the battery terminals – 16.1V with the lights on! My heart skipped a beat and thoughts of a toasted rectifier rumbled across my mind. However the Sparkbright battery monitor LED showed steady green and should have been flashing red/green at this voltage. A prod of the ‘mode’ button activated the tacho/voltmeter in the dashboard and it said just over 14V. What gives? Then another glance of the multimeter channelled my thoughts in a whole new direction – an itsy-bitsy low battery icon was showing. A fresh PP3 and a calming cup of tea later and the Capo was in fact charging at a healthy 14.2V all along ……. So with the stress-monster firmly back its box, I made a note to check/change batteries in all the other tools in the workshop ASAP!
Wonkey headlight!

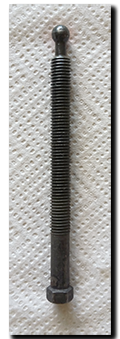
Aprilia Caponord ETV1000 Rally-Raid headlight adjuster screwLast year the tester at the MOT station didn’t like the slightly low headlight beams (set to offset loaded panniers) and wanted to raise them. Unfortunately I think he raised the left-hand to the point of possibly unseating the ball at the end of the adjuster screw from the reflector. Friction alone on the other pivots probably only holding it in place to his satisfaction. About a month ago the same headlight went out of vertical alignment a little, then  finally the other evening, suddenly dropped completely (and very noticeably!) so the low-beam was now tripping over the front wheel!
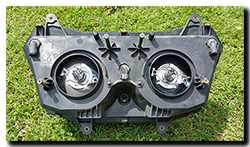
First check – bulbs out and try to move the reflectors up and down. Right-hand no movement – fine, left-hand very wobbly, plus the adjuster unscrewed completely by hand. So, headlight out as it’s far easier to work on.

Remove the rubber gaiter and bulb and a visual check of the reflector mountings is possible – they looked OK, so I cleaned up the adjuster and applied the lightest wipe Aprilia Caponord ETV1000 Rally-Raid headlight reflector adjuster socket and clippossible of grease on the ball to help it seat more easily, I honestly couldn’t have applied less if I’d just shown it a photo of a grease tub! Then screw in the adjuster and kept going (very gently!) a half turn at a time once it had seated against the reflector socket. I also used a little brass-tool to help pull lightly) on the reflector mount to help the process. I guess I went about three full turns before the ball made a loud ‘pop’ and dropped into position. I don’t know which was more relieved – the stresses in the reflector or my pulse-rate!

Aprilia Caponord ETV1000 headlightOnce the day was at an end, it was time to set the beam height …. the manual quotes 90% of the bulb height from the ground at 10m distance while sat on the bike. I did them one lamp lit at a time, then double checked with both lit and also checked the horizontal alignment at the same time. Total time about 10 minutes and hopefully a happy MOT guy in a few weeks time!

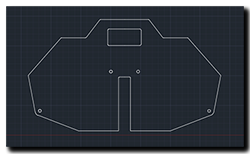
Aprilia Caponord ETV1000 Rally-Raid rubber shield for dashboard lower and headlight 8158255Buttoning it all up went OK, but it was obvious the rubber dashboard lower/headlight shield has finally seen the best of its days with numerous splits starting. So a template was drawn, then reproduced in CAD and some 2mm rubber sheet ordered from Flea-Bay – cheaper than Aprilia, who want over €60 for the same part (AP8168916)!
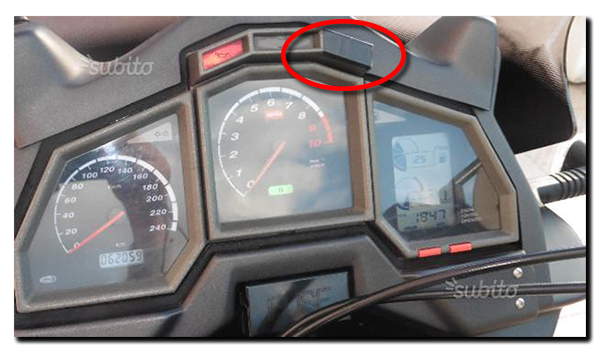
Fix or Photoshop?

I like to keep any eye out for any Rally-Raid sales in the UK or Italy and this one caught my eye, unfortunately for the wrong reason! Spot the bodge tape covering the EFI light ….. one way to fix a problem I guess! 🙄

EFI

CGI dashboard – 2

Saturdays lovely sunny weather gave way to thick fog and a definite chill in the air – time then to hunker down on the PC and finish the CGI dashboard and add a couple of extra bits to make it a touch more interesting on the eye.

CGI dashboard – 1

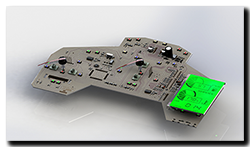
Aprilia Caponord ETV1000 Rally-Raid dashboard, instrument panelSlowly getting more parts of the Capo into CAD/3D …. finishing the dashboard motor off (after almost 2 years!) gave me the nudge to get the circuit board done. Here’s a work in progress, only a couple more chips to fit. Then the inlay and case / lens will see it polished off. Can I keep up the momentum or will galloping apathy step in … hmm who knows! 😕

AlternatorCapo charging system  ….. a new page going up shortly with a fair bit of (new) info regarding alternator output, waveforms, voltage, current and how those are affected with the attachment of different technology regulators – plus how exactly those regulator-rectifiers do the job of producing rectified DC. Pitched at electrical newbies I’ll be running through each of the components and what they do electrically (hopefully) in a way that makes sense, including why some wires can be thin and work just fine and why some regulators get hot and others don’t.


Dashboard motors – an update

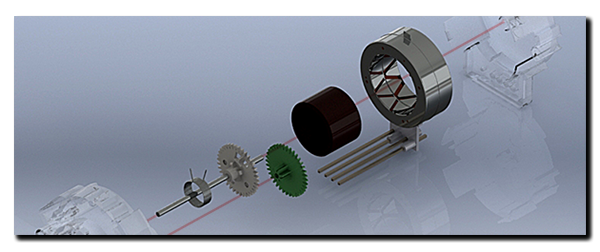
Aprilia Caponord ETV1000 Rally-Raid dashboard speedometer tachometer stepper motorAn old (ironic) joke in England states that you will stand around for an eternity waiting for a bus – only for three to come along at the same time! In the same way, dashboard faults sometimes do a similar thing. Recently I had three boards arrive; all had defective speedo/tacho motors. All six motors were physically broken and two electrically dead.

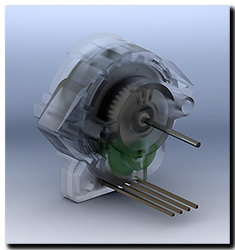
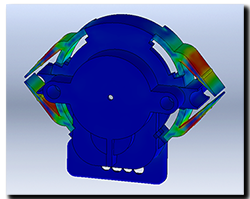
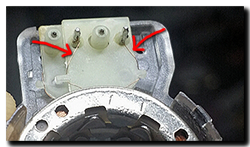
The motors mount to the circuit board by four soldered pins and two push-fit pegs. The arms on the motor case that grip the pegs break off and that leaves the motor pivoting Aprilia Caponord ETV1000 Rally-Raid dashboard speedometer and tachometer stepper motor stress analysison the four soldered pins. With time and vibration, the armature wires that are soldered to the pins flex and break – one dead motor.

Replacements are available from flea-bay for between £30 and £45 –not exactly a cheap part, especially when the old one may still be working fine. Now it seems a cheaper solution is available in the form of a replacement front cover (part with arms) for a fraction of the price of the full motor. On close inspection it doesn’t look like a 1-for-1 copy of the original (the arms are slightly different) but it’s well worth a punt at that price to see if it works.

So why are they failing? Well my guess is, it’s a combination of age, vibration and heat/cold cycling that causes the arms to fracture. Once that support has gone, the motor is left suspended on the four soldered arms – and they in turn are press-fitted into flimsy Aprilia Caponord ETV1000 Rally-Raid dashboard speedometer and tachometer stepper motor armature wireplastic spacers. The armature wire (very thin!) is soldered onto these pins, with very little slack ……. So any flex between motor and pins will inevitably stress the wires and cause them to break. They can be repaired of course, you just need good equipment, a magnifier and VERY steady hands!

Unfortunately, spotting a broken motor is difficult without striping the dashboard, but here’s a little something to look out for …… have a good close look at the needle, where it passes through the inlay. If the speedo needle looks like it’s drooping downwards or the tacho needle looks like it’s leaning to the left – suspect a broken motor. Remove the dashboard and give it a gentle shake – hear something rattling inside? That’ll be the broken arms floating around – tick-tock, tick-tock – it’s only a matter of time now before the armature wires give way!

Aprilia Caponord ETV1000 Rally-Raid speedometer and tachometer stepper motor disassembled

Trippin’ all the way!

Aprilia Caponord ETV1000 Rally-Raid dashboardSometimes a particular feature of a piece of technology can drive you nuts – that itch you can’t scratch! Here’s my particular niggle with the Capo dashboard ……
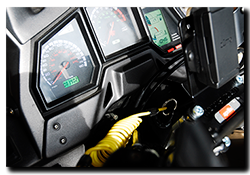
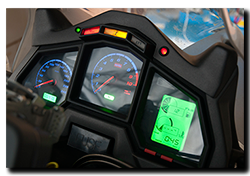
Just imagine, it’s a nice day and you’re all suited-and-booted, ready to tear up the countryside on the Capo. You’ve pushed the ‘Set’ button on the dashboard to display the trip meter and all is fine and dandy in the world, later you pull over for a break and when you restart the bike – the dashboard has switched back to odometer! I know it’s not exactly the end of the world, but it is annoying. Why couldn’t Aprilia just code the damn thing to display on start-up what it showed at shut-down, many other bikes seem to do it.

So as part of the long running Mk2 dashboard project, the feature has now been incorporated!

With a little bit more code and a couple of extra wires, the dashboard now knows what was displayed (odometer or trip) at key-off. Then it simply electronically replaces a winter-gloved podgy finger and prods the ‘Set’ line to the old microcontroller a second after the board finishes its POST (power-on-self-test) routine. It also now reads the voltage from the fuel level sensor in the fuel tank, so that if the trip meter is displayed at key-off AND the fuel level changes from less than 15% to greater than 90% (approx. <5l to >20l refuel) at the next key-on, the trip meter will be reset automatically. If you don’t want the reset to go ahead, you simply make sure the dashboard is displaying the odometer before switching the bike off, now the reset is ignored.

Of course all this is well and good on the workbench, but in real day-to-day use – will it scratch that itch? Hmm, time and a few miles under the Capo’s belt will determine that answer……. maybe I’ll just end up with a nasty little rash! 😕

Accuracy is everything …..

Aprilia Caponord ETV1000 Rally-Raid calibrated voltmeterWay back when I started playing with the idea of using the dashboard tachometer as a voltmeter, I was aware I had one stumbling block …. I didn’t have a decent workbench power supply to calibrate the software/voltmeter against. In the end just using a battery and resistors the ball-park calibration wasn’t too bad, reading within a needles width of the correct voltage from 13 – 14v but it drifted terribly above and below this range.

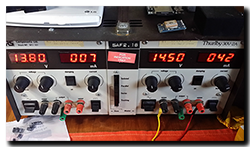
Aprilia Caponord ETV1000 Rally-Raid Thurlby 30v-2A dual power supplyThen in summer along came a gift from ABSL via Andy (Beasthonda) …. A very nice Thurlby 30V-2A dual power supply, which unfortunately had to languish in Oxford as it was too heavy to transport back by Capo! But patience is rewarded and it finally sits on the workbench, performing brilliantly and its first job has just been to calibrate the dashboard voltmeter once and for all. In the end it required a little code revision to get it just so, but it was worth it – now the voltmeter is accurate to a needles width over the full range of 9 – 16V. Happy Days! One more job to tick off the must-finish list. 😀

I really can’t say how much I appreciate Andy for thinking of me and ABSL for letting this power supply go to a complete stranger, I look forward to putting it to good use and hope that some of the tinkering on the workbench can make its way into other Caponords.

Fuse box panel

Aprilia Caponord ETV1000 Rally-Raid AP8178418 fuse box covering panelOn the Mark 1 Capo there’s a screw-on cover, on the Mark 2 a panel held on by 4 screws but on the Raid it’s just waving in the wind …. staring at you with those half-inch high letters screaming “FUSE”. Quite why Aprilia felt the Raid needed an uncovered fuse box below the dashboard is anyones guess …….. it’s not like I need millisecond fuse changes!

Besides it’s always niggled me that one sunny Aprilia Caponord ETV1000 Rally-Raid AP8168770 panelday some light-fingered arse would think it a jolly wheeze to pull all the fuses out when it’s parked up. To remove the temptation I’d been keeping an eye open for a replacement panel for a while. Recently when a panel from an 05 came up on Ebay I was in-like-Flynn and the Capo got a nice little upgrade. I think it looks much better now. 😀