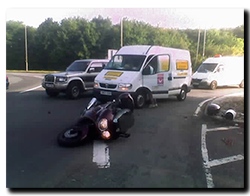
 Twitter, Facebook, emails, texts … it’s a fact that the modern driver is ever more distracted and as a consequence, the one thing I hate most – rear end collisions, are on the increase. It’s the one direction I have little or no influence over what the driver is doing. The last incident I was unfortunate to be involved in dates back to July 2005. Sat minding my own business at a roundabout waiting for a gap, when in a heartbeat the day turned to s**t. White-van-man ran into the back of me …… Ripping off the panniers and exhaust of my lovely Triumph Trophy 1200, while at the same time bending the subframe and ruining the body work as it slid along the road. The drivers opening words were: “I didn’t think you were there”.
 Thankfully he never contested that he was to blame and the insurance paid out pretty quickly. But it could so easily have gone the other way. None of the vehicles in the immediate vicinity stopped – they had a good gawp, then trotted on. If he’d argued that I’d cut him up or some other sob story, I’d have been hard pressed to prove otherwise and the case would have dragged on for ages. This is of course one reason why cameras make mighty useful tools for our defence!
In reality I’ve been using cameras on bikes for about 13 years now ….. First a 640*480 bullet camera feeding into a Sony Video Walkman (digital tape). Nowadays I use the GoPro 3+ I bought a few years ago, but it’s really not suited to the roll of ‘dashcam’ and of course, running two (forward/rear) is an expensive hobby! So I was interest to read recently about the Innovv K1 system.
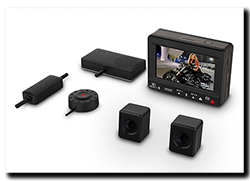 The Innovv K1 uses dual cameras (1920*1080 full HD) that feed into a single recording unit and it is designed to be a permanent installation on the bike. Both cameras are recorded in full frame and can be played back as such or as ‘picture-in-picture’ on the recording unit built in screen. It also has a GPS unit that can overlay information onto the footage if you want. What I particularly like is that the cameras are fairly discreet and can be mounted out of the way of prying eyes and fiddly fingers. It has many more features that I’ll not go into here, but are well worth checking out on the Innovv website. Oh and the price is damn good when compared to many single-camera systems.
I really like the idea of an almost fit-n-forget system that starts and stops at the turn of the ignition key. Other than keeping the lenses clean I should be able to go about my daily business, smug in the knowledge that should something untoward happen, the Innovv K1 will have probably captured it and (if it detects excessive g) will have locked the video file to prevent deletion.

Of course common sense says that if vehicle manufacturers reduced the number of eye-candy gadgets and driver training were improved then the number of distracted idiots might reduce and I wouldn’t have to worry so much ….. but that’s not going to happen any time soon. Unfortunately the same is now happening with bikes, just look at the latest offerings. Colour LCD dashboards with more information, entertainment and interconnectivity than you can shake a very long stick at.
Above is a classic example of the latest sort of offering, also can anybody reasonably explain to me the obsession about knowing which gear you’re in and why it has to dominate the dashboard! It also appears that ‘neutral’ is so important to Ducati they show it you twice…… WTF! 😯
 No siree Bob, none of this information overload for me thank you very much. I’m going to fire up the Capo, fiddle with the GPS for a minute, turn on the GoPro from the wireless remote, plug into the Autocom, kickstart the music and make sure the phone has Bluetoothed itself to the GPS/Autocom just in case someone phones, then I’m all set to ride around the corner for a nice loaf of bread ……….
……… The new breed of riders just don’t have a clue how simple life is with older bikes! 😉
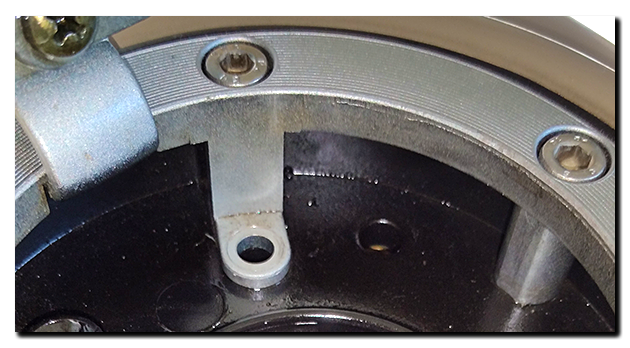
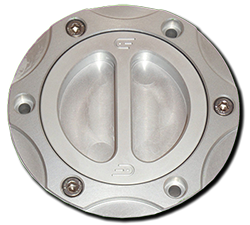 On the eve of another little trip the half-key fuel cap has decided to throw its toys well and truly out of the cot. For the last couple of months the half-key has worked perfectly, but yesterday it just didn’t want to budge but the spare half-key still worked – go figure! Unfortunately I’ve now lost confidence in the cap opening as and when required. So two things happened …. first, out came the security bolt** and second, I ordered a nice silver/silver Oberon keyless cap to meet me at journey’s end. Now at least I can unbolt the whole cap assembly when I need to refuel if I have to ….. tedious but I won’t be left stranded!
 Twitter, Facebook, emails, texts … it’s a fact that the modern driver is ever more distracted and as a consequence, the one thing I hate most – rear end collisions, are on the increase. It’s the one direction I have little or no influence over what the driver is doing. The last incident I was unfortunate to be involved in dates back to July 2005. Sat minding my own business at a roundabout waiting for a gap, when in a heartbeat the day turned to s**t. White-van-man ran into the back of me …… Ripping off the panniers and exhaust of my lovely Triumph Trophy 1200, while at the same time bending the subframe and ruining the body work as it slid along the road. The drivers opening words were: “I didn’t think you were there”.
 Thankfully he never contested that he was to blame and the insurance paid out pretty quickly. But it could so easily have gone the other way. None of the vehicles in the immediate vicinity stopped – they had a good gawp, then trotted on. If he’d argued that I’d cut him up or some other sob story, I’d have been hard pressed to prove otherwise and the case would have dragged on for ages. This is of course one reason why cameras make mighty useful tools for our defence!

 No siree Bob, none of this information overload for me thank you very much. I’m going to fire up the Capo, fiddle with the GPS for a minute, turn on the GoPro from the wireless remote, plug into the Autocom, kickstart the music and make sure the phone has Bluetoothed itself to the GPS/Autocom just in case someone phones, then I’m all set to ride around the corner for a nice loaf of bread ……….

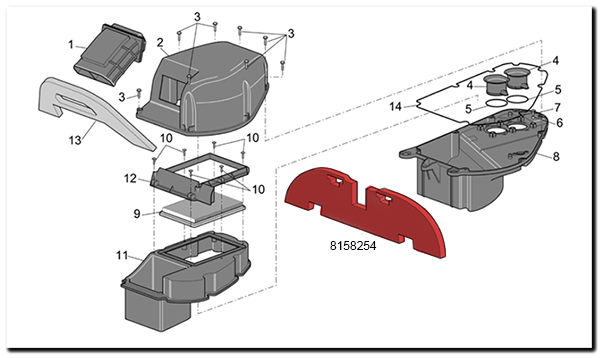
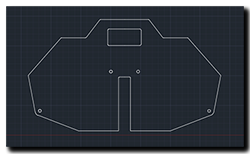 I finally got around to finishing off the new closure panel (AP8168916) and seat/tank heatshield (AP8117201 – now unavailable) using the 2mm rubber sheet I bought a few months ago. A single 500mm x 500mm piece is enough to make one each of the panels at a cost of about £4 per panel. Compare that to the list price of Aprilia replacements – £15.58 & £22.48 each PLUS VAT!


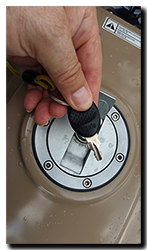
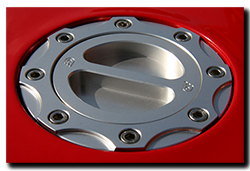 cost and what state would the lock be in afterwards? A replacement Aprilia cap (AP8104529) then? A quick search shelves that idea – €277 you have to be bloody kidding me! So how about aftermarket? Well it looks like Oberon make a nice key-less cap for £79.99 that fits. It looks good and folks seem to like Oberon quality, so maybe that’s an option. I’ll think about it.
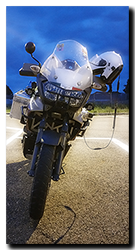 The
The 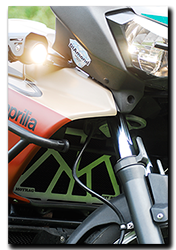
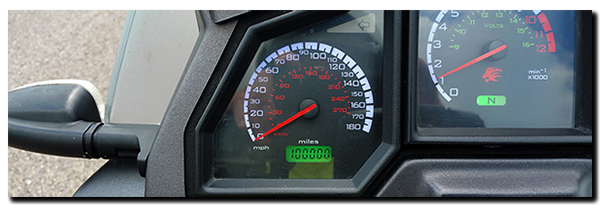 I pop the hazards on and roll to a halt on the hard-shoulder. The traffic is light and I’m only stopping long enough for a quick photo, I know I shouldn’t, but this one’s a biggie!
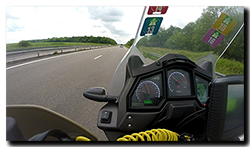
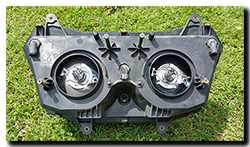
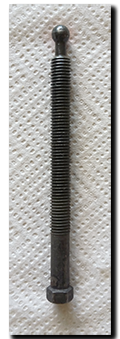 Last year the tester at the MOT station didn’t like the slightly low headlight beams (set to offset loaded panniers) and wanted to raise them. Unfortunately I think he raised the left-hand to the point of possibly unseating the ball at the end of the adjuster screw from the reflector. Friction alone on the other pivots probably only holding it in place to his satisfaction. About a month ago the same headlight went out of vertical alignment a little, then finally the other evening, suddenly dropped completely (and very noticeably!) so the low-beam was now tripping over the front wheel!