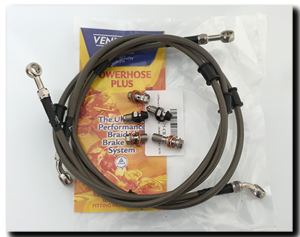
 Well this little job just got a whole lot more involved and costly! The idea of having lovely clean and refreshed calipers made me think about the old banjo bolts (M10x1) and bleed screws (M8x1.25) … OK, so new stainless ones were ordered from Racebolt, that’s fine. Then it got me thinking about the old tarnished hydraulic hose ends … sigh … OK, so new hoses as well then!
I went for the ‘Powerhose Plus’ range of hoses and fittings from Venhill down in Surry. I chose ‘carbon’ grey (smoked translucent sheath that shows the hose weave below) with all fittings in stainless steel. I really like these hoses because the end fittings can be rotated – thereby reducing twist in the hose and allowing the hose to sit naturally. This is something I hate with other swaged hoses. With that type, I have nearly always had to induce an amount of twist in the hose to get one banjo to fit the caliper or reservoir. Fair to say, I like neat hoses (and wires!) and I have a smattering of OCD about me when it comes to symmetry … both left and right hoses will HAVE to mirror each other!
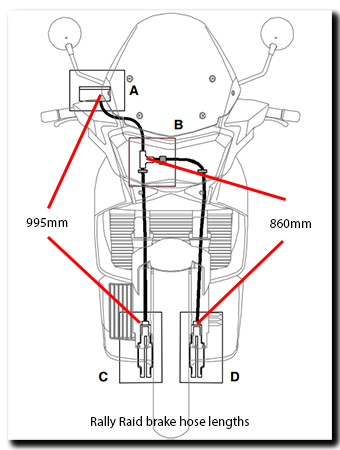 The standard hose assembly is a single hose from the reservoir to a T-piece just below the lower fork clamp, from there a single hose down to each caliper. To replicate this was actually more expensive than using two individual lines from the brake master cylinder. So that’s what I went with – A double banjo bolt at the reservoir and two lines to the calipers using 2 x 45º banjos at the reservoir and 2 x straight banjos at the calipers. For the Rally-Raid the Venhill right hand line (as sat on the bike) is 950mm long and the left hand line is 1,100mm, these will need to be slightly shorter for the standard Caponord. The important point is that the lines plus fittings have to be long enough so that no part of the line, banjo-to-banjo is under tension when the forks are fully extended.
The lines came with three hose support grommets each, and I ended up removing one as it was not needed. Both lines use one grommet located within the existing support grommet that fits in the plastic tray below the headstock, the second is used within the P-clip bracket on the mudguard fixing screws, so two per line (see pics below). The third I used to help buffer the left hand line up at the handlebars … hopefully I’ll get around to designing and printing a 3D bracket to make this support look more ‘factory’ and finally the third support on the right hand line was removed.
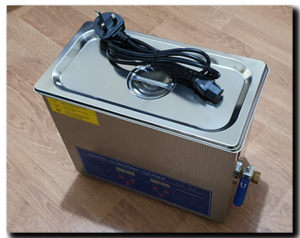
So with the lines sorted it was time for the calipers. The left one was removed, stripped and cleaned with Gtechniq W6 Iron and general fallout remover … a rather pungent and powerful liquid that does what it says – strips off 95% of the dirt in one go. Use in a well ventilated place with gloves and goggles, this is nasty stuff! After that, the pistons/seals were stripped out and everything zapped in the ultrasonic bath for a couple of 20 minute cycles until totally clean. Once dry, everything was put back together with new seals, O’ring and bolts (2x 40mm, 1x 35mm). Once everything was back together it was time to bolt the caliper back to the fork leg (50Nm) and have a nice warm brew before starting all over again with the right one.
Conclusion
In all fairness, I couldn’t get over how good the old seals were after 115K+ miles and almost 20 years. The pistons and springs cleaned up beautifully and looked almost new and the anodising inside the bores was hardly marked – totally amaze-balls when I think how badly some Japanese calipers fair after only a couple of winters. I honestly think it is all down to the coating on the pistons and the anodising of the casing that make the difference. As for the cleaning process … I got there in the end! Brake calipers are probably the worst thing to clean on any bike and unfortunately there is no getting away from good old elbow grease … well that and a really aggressive cleaner made for the job! The ultrasonic bath put the icing on the cake, but in all honesty wasn’t strictly necessary, but did remove a little more dirt and added extra sparkle.
Below is a selection of pics showing hoses and before/after shots of the calipers along with a couple of shots that highlight the kind of crap the Capo put up with for 10 years on a certain Italian road …


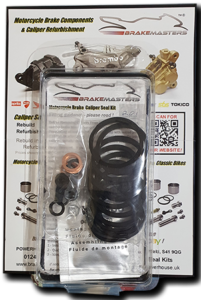
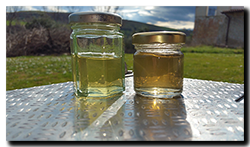
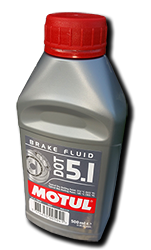 Clutch slave cylinders/seals and brake fluid can be almost as emotive as good old engine oil, everyone has an opinion. Well I’ve just changed brake/clutch fluid after about 15 months, usually I’d do it every 6 months or so, but somehow I’ve ended up getting a bit lax and let it slide. So for what it’s worth, here’s how things have worked out on my own Capo over the years.
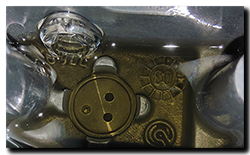
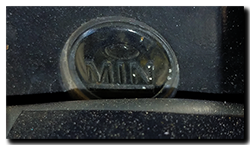 And finally ….. always ALWAYS make sure the level of fluid in the reservoir is right. It is so damn easy to overfill this one. My prefered method is to drain off most of the reservoir fluid once the system is bled (don’t expose the ports) then refit the rubber bellows and use a syringe to inject fluid back in while watching the bubble. Leave quite a big bubble showing, because when you screw down the cap the volume (and bubble) shrink a little.