Time on my hands …..

Aprilia Caponord ETV1000 Rally-Raid When a chicken damages your front mudguard, the day doesn't end so well for the chicken!

It’s fair to say that these strange and worrying times will touch all of us in some  way or other, so may I firstly send each and everyone of you all my best wishes as we each deal with the Covid-19 pandemic. That said, life still moves on and this site is about the beloved Caponord ETV1000 we are lucky enough to enjoy, so it’s content will stay focused to that end. 

Recently the fantastic company I work for has taken the difficult decision to furlough us until the end of May, but the flip side of this particular coin is that I’ll now have a lot more time to add new material to the website and spend some well needed hours spinning spanners and generally giving the Capo the TLC it so richly deserves. So please, stay safe, and pop back once in a while and see what’s been added! 
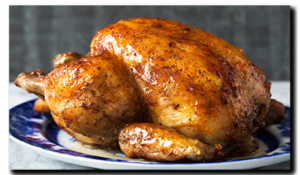
First on the list ……. the front mudguard. I’d only had the Capo a year or so, when one fateful day a rather inquisitive chicken decided the front mudguard was a smashing place to perch, but not very grippy. So after lots of slipping around and trying to dig its claws in, it gave up and flapped away in a huff leaving nice scratches in the surface of the mudguard. Since then, a coat of black bumper polish every now and then has gone some way to masking the marks, but it needs applying every few weeks to maintain the effect. Later that fateful day, the chicken mysteriously decided to perch inside a hot oven with some lovely roast spuds ….. and close the door. Who knows what goes through a chickens mind eh!

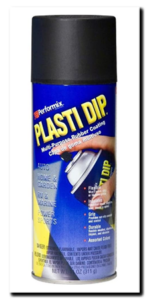
Last year … yes, last year (the shame of waiting so long!), I got hold of a rattle-can of ‘Plasti Dip’ satin black. This stuff is quite interesting, it sprays like a paint but can be peeled off later like a vinyl wrap. Just do a search, there are loads of YouTube videos about this stuff. So the plan is, off with the guard, a good wash and degrease then when thoroughly dry, a few coats of Plasti Dip – if I don’t like it, simply peel off re-polish and put it back on the bike – nothing lost. That’s the cunning plan anyway …
Next on the list …. another little update to the 4D Systems screen software! An extra page has been added that now allows control of heated grips and seats. Here’s a little video of it in action … again, it’s a work in progress and will have a couple of graphic tweaks and an extra function added into the software, but for now it’s a working prototype with three PWM (Pulse Wave Modulation) outputs (one per heater set) that will drive a high power circuit controlling the heater elements. These circuits are capable of handling 12A each, so more than tough enough for grips/saddle heaters.

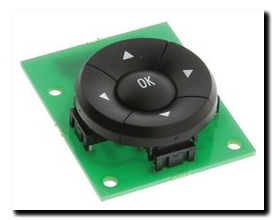
It uses the 5-button switch assembly so that the grips can be adjusted on the fly, rather than have to use the smartphone app like the other info pages. The basic functions are:

  • Press and hold OK to access the screen or return to main screen
  • Use the UP and DOWN buttons to select the heater you want to adjust
  • Use the LEFT and RIGHT buttons to adjust the heat settings – a single press adds/removes 1 block (10%) while press and hold a button ramps up or down until released
  • Double click the LEFT or RIGHT button to set all heaters to 0% or 100% instantly. When set to 100% there is a five minute timer, then the grips return to preset values – this is ideal as a pre-heater on wintry mornings!
  • Finally, Double click the OK button to return all heaters to preset values
  • In-built safety cuts all heaters when the ignition is turned off

Updates in the pipeline …… addition of a settings page in the smartphone app to allow some flexibility. For example – a timer when the ignition is turned off, so the grips can remain live for a few minutes (like the Oxford grips do) … and the ability to inhibit the pillion heater completely if you never carry a pillion or feel the need to heat luggage you have strapped on!
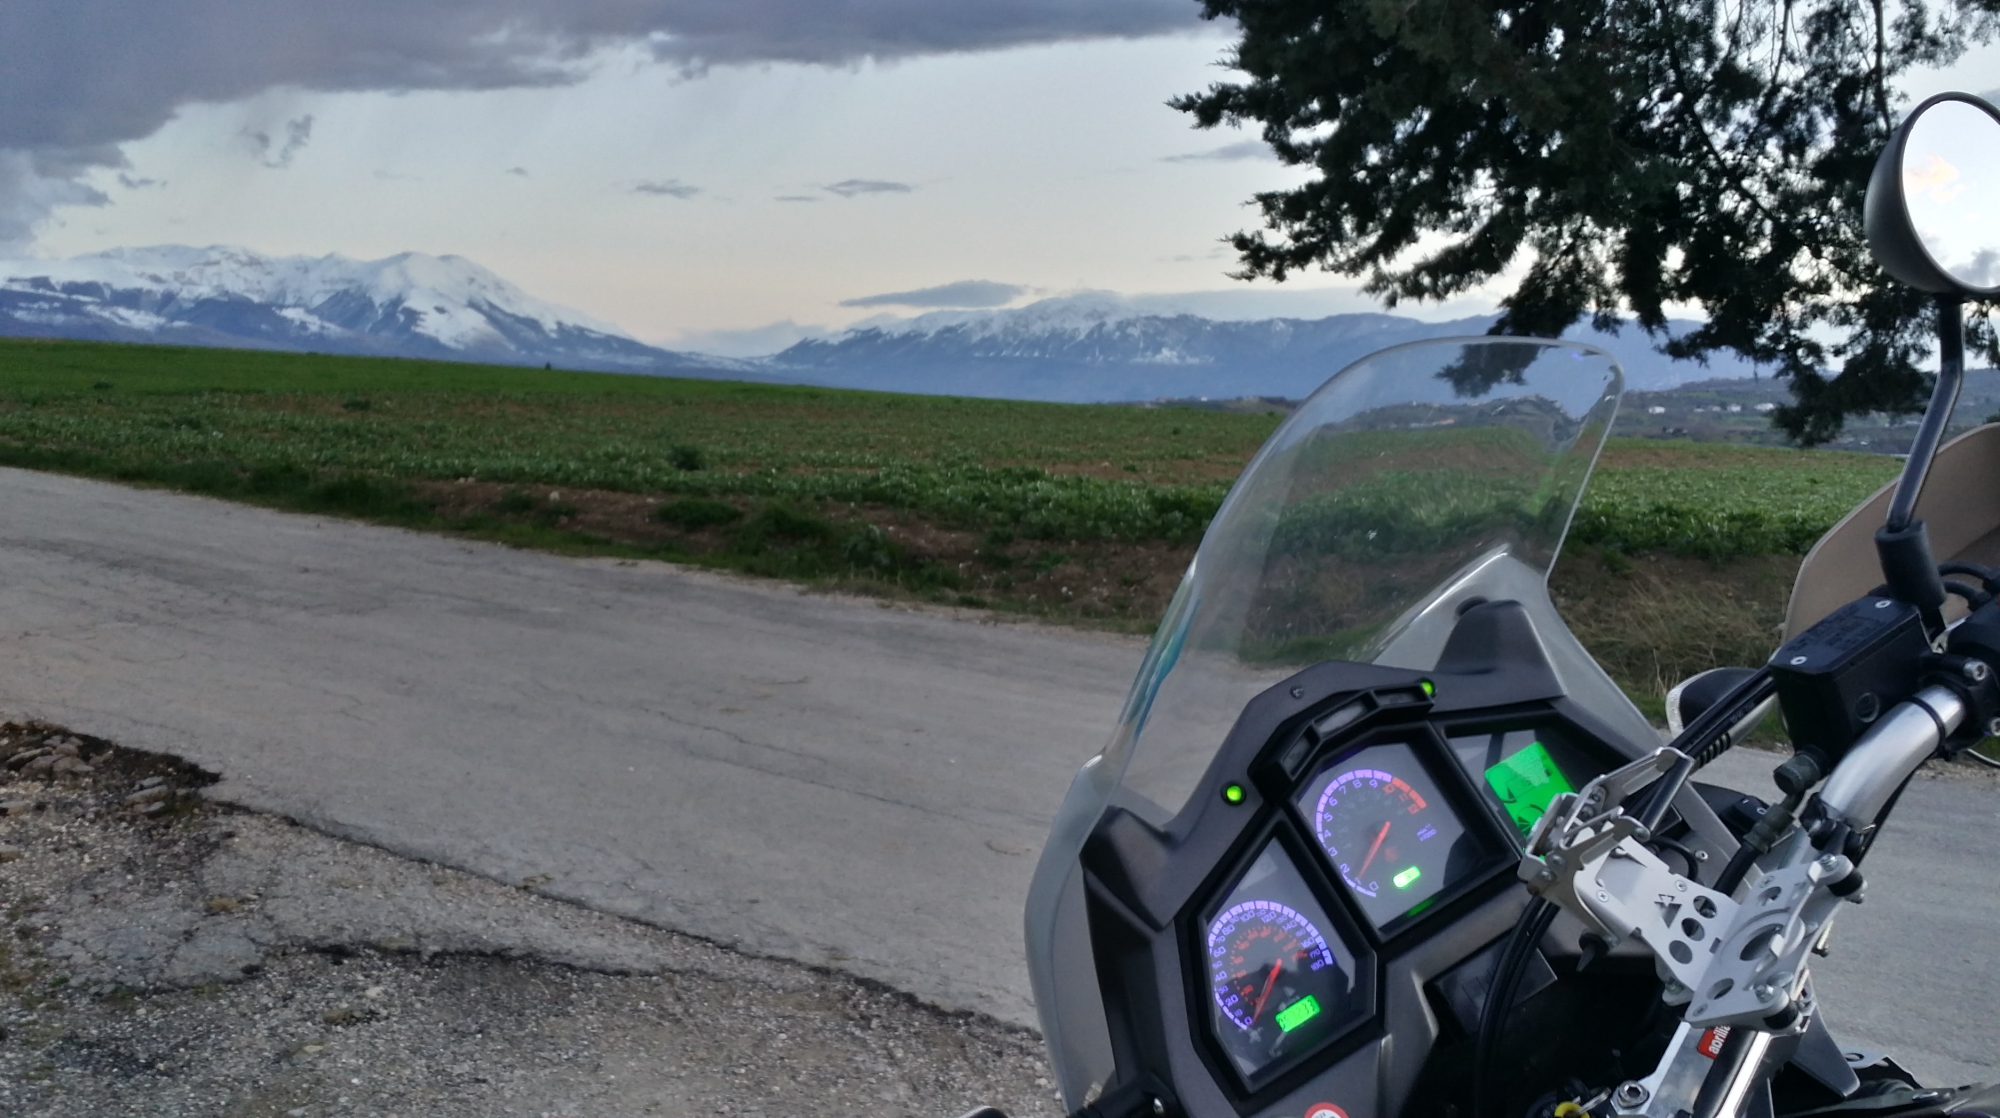
The blip is back!

After a couple of rides, here’s the verdict on the Oxford Adventure heated grips – utterly Fantastic! Not only are they awesome in their toastiness, they really do help my old wrist as well. The extra diameter and better texture compared to the Ariete grips is lovely!

One thing lacking in my riding over the last few months has been blip-ability, the quick tweek of the wrist to grab a few revs … almost every downshift became a novice-style, crunchy-clunky affair, blips either non-existent or late. The head was doing the throttle blippy thing but the wonky wrist just couldn’t or wouldn’t play ball. Fair to say my blip-mojo was lost in sore tendons and swollen joints.

Now with fatter grips I’m chuffed to say my blip-mojo is back with a vengeance, sharp, snappy downshifts complemented with slick as Slick-50 on Teflon clutchless up-shifts as we slice through bend after hairpin bend. If the grin got any wider I’m sure the top of head would have fallen right off. At last, me and the gearbox are best mates again!

But that’s only half of it – These things work superbly as HEATED grips as well! With the days now struggling to reach 10-12C and wearing summer gloves, it takes but a couple of minutes at 100%, then swiftly backing the heat down to 40% before my fingers catch fire! That’s way better than the Aprilia grips ever performed. I do wonder if a big part of the Aprilia grips poor performance was not only down to the high-resistance heaters, but also the feeble wiring to the grips. I swear that stuff is rated to little more than 5 Amps, maybe 8 Amps on a good day with the wind behind it! Either way, they’re history now after a sterling 9 years service and I’m looking forward to seeing how well the Oxford grips last. Bring on a January ride through Switzerland ……. 😯 

Fitting the Oxford Adventure heated grips

I figured it would be a good time to take the Capo off the road and replace the heated grips when it next rained …… and oh boy is it raining! 48Hrs now and another 24 to go if the met folk are to be believed. Plenty of time then to get the deed done, with a hot brew and cold beer somewhere along the way.
This morning I spent a good hour doing a detailed write-up, only to realise that quite frankly it would bore you to tears …… fitting the Oxford Adventure heated grips is nicely covered in the enclosed instructions and on umpteen websites and no doubt a zillion YouTube video’s. What YOU need is the specific details and issues relevant to fitting them to Rally-Raid biconical handlebars – more specifically, Rally-Raid bars that already have Aprilia heated grips fitted, so here goes.

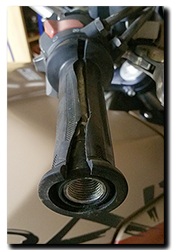
Aprilia Caponord ETV1000 Rally-Raid Oxford Adventure heated grips OF690The left-hand one is a doddle. The Aprilia grip is held on by two screws and no adhesive, so it simple slides off once all the relevent bit’s and bobs have been removed first. The right hand one is a different matter though. For this one I had to cut off the rubber grip, peel off the old heater element and then cut/Dremel the large plastic disk (switch-gear end) and raised ridge (bar-end weight end) to make one continuous 26mm diameter smooth tube.

Now the Oxford Adventure grips are 132mm long (can be cut down to 122mm) and I fitted them untrimmed, but that does mean that spacers are then required for the bar-end weight mounts to fit properly and not foul anything. For the left hand side this is 1.5mm thick (22mm OD, 18mm ID). However the right-hand is a different story. This needs the original Aprilia 3mm spacer replaced with a 7mm one – same OD and ID as the left one. But with this in place, the amount of lost thread on the mounting is  now a bit worrying, so I drew up a Aprilia Caponord ETV1000 Rally-Raid new handlebar mounts for bar-end weightsreplacement mounting in CAD and will get a local machine shop to knock a couple up. Meanwhile a 3D printed spacer is in place and works fine for now.

So now they’re on and look good and they feel great, no more finger tips pushing into the back of my palm with summer gloves on and I swear my wrist is already thanking me for the reduced torque on the throttle. All that’s left to do now is install the controller and wire everything up ….. just follow the instructions in the box!

Why not just cut the grips down I hear you cry. Well to me, cut down grips look just that – cut down. They lose the raised ridge at the end and scream out butchered! Besides it’s bloody hard to get a perfect cut, it always seems to go wibbly-wobbly somewhere. Not only that, but I wanted the extra width to make using winter gloves more comfortable. The original grips (and Ariete) are just too narrow (107mm usable) to be comfortable with my BKS winter gloves, leaving Mr Pinky out on his lonesome on the bar-end weight! Now the whole finger-family can be snug and warm on the extra width the Oxford grips give.

UPDATE – The whole kit is now in and working a treat, and boy are they toasty compared to the Aprilia ones! If I have one issue with them, it’s the length of the wires ….. I found that the wiring provided isn’t exactly generous and needed very careful routing to make sure the three connectors could sit comfortably behind the headlight and the main loom then reach back to the battery. Given that they are sold as ‘Adventure’ grips, am I cynical for thinking they might be aimed at adventure style bikes with higher/wider handlebars etc? Come on Oxford, a few extra inches of cable on the looms won’t break the bank surely!


Hot Grips, Grip Puppies or Hot Puppies?

Hot on the heels of the last post, here we go again, with the next little problem to work on. It looks like the bad wrist isn’t going to recover much more now without an operation, and Dog knows when that’ll happen. So I’ve been pondering how to reduce the load (torque) my poor old wrist feels at the twist grip.
It seems to me there are two ways to do this ….. firstly, increase the diameter of the twist grip to get more leverage, the second is to replace the cam at the throttle body to do the same job (more on this later) – or maybe a combination of the two! So let’s look at the first option.

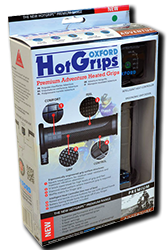
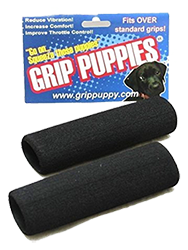
The Aprilia heated grips (with replacement Ariete grip rubbers) are 32.8mm diameter and probably the cheapest and easiest way to increase this would be to simply fit a set of Grip Puppies. But the fact is the Aprilia heated grips are quite poor when it comes to output. The 13Ω elements are really only any good for chilly Spring, Summer and Autumn mornings and certainly don’t do much on a freezing Winters day in the UK. So I started to hunt around for a better heated grip with more power. In the end I opted for a set of Oxford Products Premium Adventure grips (OF690).

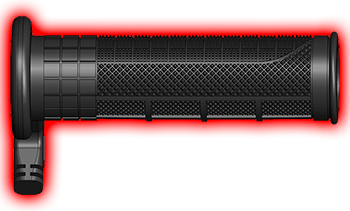
These grips are approx. 35mm diameter, so that’s one box ticked, and they have heater elements averaging approx. 7Ω …… that’s almost half the resistance and will mean twice the output. The grips are 132mm long and can be trimmed if necessary down to 122mm, so fit shouldn’t be an issue.

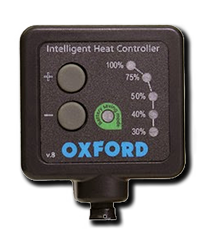
The heat adjustment is in five steps (30%, 40%, 50%, 75% and 100%) using PWM (Pulse Wave Modulation). In other words, a microcontroller turns the power on for a certain percentage of the 1.3 second cycle ….. so 75% output means the grips are on for approx. 0.975 seconds, then turned off for 0.325 seconds – total 1.3 seconds – then the cycle repeats itself. Now this is all well and good but they really missed the mark to my mind. Microcontrollers are great little gadgets and can be programmed for all sorts of things and as far as these grips go, they only scratched the surface. First off, when you turn off the grips they turn back on at the default 30% or 100% if you hold the button down – NEVER at the last setting you may have been using*. Secondly, a rapid warm up would have been nice, say 100% for 2 minutes at start-up, then back to your last used setting ….. but none of this is programmed in on the OF690.

In fact isn’t it about time grips came with temperature sensors in-built? Think about it ….. set the desired heat and ride along happy as larry with toasty fingers on a bitter winters day. Stop for a minute and take your hand off the grip and it now cools rapidly – the cooling temp sensor feeds back to the controller, which now ramps up the output to try and restore the grip temp back to that desired. You then plonk your size 10 winter mitt back on the well heated grip, and now the grip is insulated the system reduces power to maintain the temperature. And it goes without saying that both grips should do this independently!

Anyway I digress, the whole point is that the new grips will give me a welcome increase in diameter, even then I have the option to add Grip Puppies over the top but I think this might be overkill! But who knows ……

Next post I’ll look at the pro’s and con’s of changing the cam at the throttle body to achieve a reduced torque at the twist-grip.

*This function along with 9 heat settings instead of 5 is available on the Hotgrips Advanced Adventure UK SPECIFIC (EL690UK). Why didn’t I buy these? Simply because I got the OF690 set for £30 cheaper! 😀