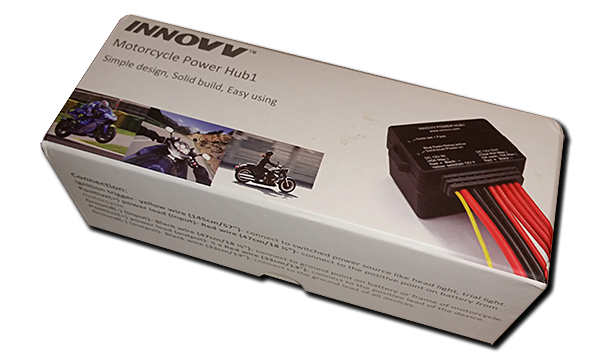
So what is this new-fangled modification to the starter circuit I alluded to in the last post? Well in a nutshell it’s a new loom (plug’n play) that goes between the starter solenoid and the main loom and also goes to the battery. Why?
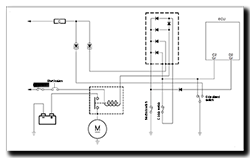 As mentioned previously, the starter solenoid draws about 2.9A when energised and that power goes from the battery via 2x 30A fuses, through the ignition switch on the headstock, then up to the fuse box in the cockpit and back to the starter solenoid. From here it goes via the diode block down to the engine (neutral switch) or side-stand switch (and back up into the loom) and all the way back to the handlebars (clutch switch) before finally making its way back to the battery via the main earth (Ground) cable – phew!!!! That’s a lot of cable and switches, never mind the diodes. OK the fact is, this circuit has worked trouble-free for 14 years, why mess with it? Because my gut instinct is that restricted power to the solenoid over time makes for low-speed actuation and eventually, burnt contacts …. that’s my theory anyway!
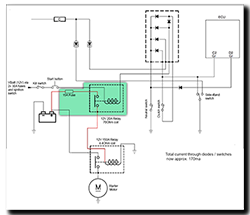 I figured an easy way to make sure the solenoid gets lashings of fresh volts/amps is to make the circuit between battery and starter solenoid shorter and simpler – so in goes a small loom with another relay, a 20A unit exactly the same as used for the headlights. This relay is now activated by the starter circuit and its contacts switch fused-battery power direct to/from the starter solenoid – short and sweet!
This relay has a coil resistance of 70Ω and so only draws 170ma @ 12V so no problem with starter buttons or switches getting a little resistive over time as (for example) a mere 0.5Ω difference when set against the 70Ω coil is only 0.7% difference compared against the 4.4Ω of the starter solenoid coil where a 0.5Ω difference equates to over 11% difference. Bottom line – the whole circuit has an easier time!
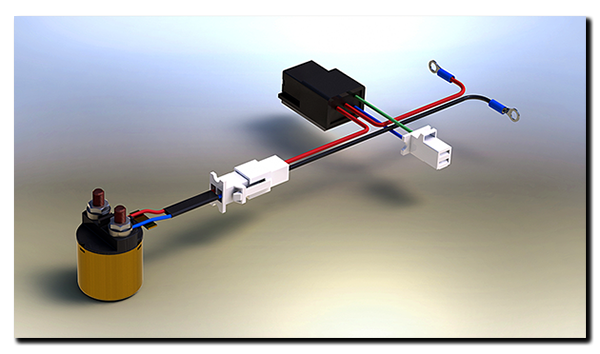
The wiring is soldered direct to the relay spade connections and then slides into a 3D printed case and the case/contacts are encapsulated to keep the whole thing neat and tidy. Now the relay sits on top of the ECU held in place by a double-sided adhesive pad and the connectors tuck away neatly behind the battery.
If somewhere down the line it all turns belly-up, I only need to unplug the two connectors and reconnect the solenoid back to the main loom and it’s business as usual. So I figure I’ve got nothing to lose by giving it a whirl …… I’ll find out soon enough if it’s a thumbs-up or thumbs-down job!

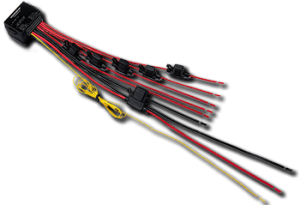
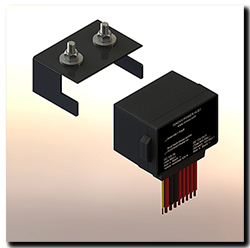 In the box is the Power Hub, a couple of brass crimp/solder tags to connect positive/negative to the battery and a bag of ‘posi-lock’ connectors and a ‘posi-tap’ connector to join the sensing wire to a switched line on the bike.
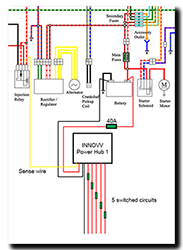
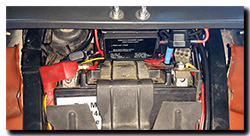
 t one fundamental flaw remained. In a day, a week or next month, I’m not going to remember which red wire feeds which circuit. To this end I think INNOVV could make a couple of simple changes which would help immensely. First, add a numbered/coloured sleeve marker on each line, either side of the fuse holder to identify each circuit 1,2,3,4,5. Second, pop a sticker in the box, so that the owner can write down the details of what’s connected to each of the numbered cables and stick it somewhere near to the Power Hub. That way you can look up the appropriate circuit/cable number on the sticker, then rummage around for the matching numbered fuse holder – easy!