 Today a post on a new bit of kit in my wardrobe and how a couple of companies renew your faith in how retail should work.
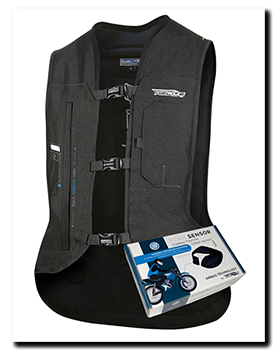
First, the bit of kit …. a black Helite e-Turtle2 air vest with optional motorcycle sensor kit. In all honesty I’ve been dancing around the purchase of one of these safety garments for a couple of years, but only just bit the bullet after a rather sobering article in the press, where a Police rider heaps praise on one of these devices that saved him from serious injury after a rather ugly incident on the M25. Later I learned that 16 Police forces now use these devices along with many other agencies. I was sold, and the order was placed with sportsbikeshop.co.uk for the vest, sensor kit and a spare gas canister. Of course I don’t ever really want to use the first canister, let alone a second, but as the saying goes …. better to have one and not need it, than need it and not have one!
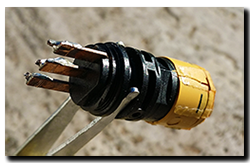
 Within a couple of days I was stood marvelling at my new purchase, more on which I’ll write later. But before that, I have to tell you the ‘good retail’ story! Being a curious sort of soul, I opened the spare canister and compared it to the canister fitted in the vest …. there was a difference. The electrical connector in the vest was a locking two-pin item, but on the spare canister it was a jack plug. Hmm … had I ordered the wrong one? Back to sportsbikeshop …. no, they only listed the one type of 100g canister. OK, over to the Helite website and slap me sideways, only the same canister with the jack plug is shown. Now I
 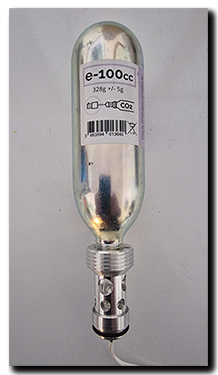 was stumped. So the next day I called Helite and received a massive apology as it turned out the new vests (Mk2?) have the locking plug connector and a batch of spare canisters had only just been received, so no distributors had them yet! Now this could turn ugly … Helite could say get your distributor to sort it out and the distributor could argue they sold me what Helite say fits. But not in this case – both were fantastic, Helite sent Sportsbikeshop a batch of canisters and explained the issue, meanwhile Sportsbikeshop and I swapped a couple of emails and hey-presto a correct canister arrived this morning, just 48hrs after noticing the problem … no fuss, no arguing, just good old fashioned customer support – so thank you both, I’ll be buying from you again that’s for sure!
So with that little drama behind me and the rain cloud parting it was time to delve into the fascinating world of air vests. The setup of the vest is simple – pop it on charge with the supplied cable and when the vest LED changes from amber to green, you are good to go. Battery life is rated at up to 25hrs with the led turning amber when the vest has approx. 2hrs of life left. Charging takes approx. 5 – 7 hrs so they say. The charging cable supplied is a USB to power plug – an unusual cable and not one you’re likely to have kicking around, so I figure it should stay with the vest for safe keeping … and there is a tiny pocket in the vest that’s not much use for anything more than a credit card or loose change but is ideal for storing the cable – sorted.
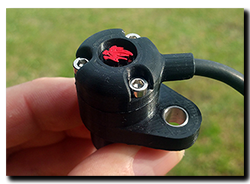
Next up then, the motorcycle sensor. First you need to pair this to the vest (dead easy) then fit it to the fork leg of your bike. Again, very easy with various length straps and bits to fit a massive range of fork diameters. They say the sensor is good for up to 5 years and should be tested monthly using a little magnet supplied. Now my bike looks like a local bad boy wearing a tag on his ankle! Incidentally, the vest can be paired with up to 5 sensors if you have multiple bikes. Nice.
Now the air vest itself. Well the construction is first class and I would say the fit … unobtrusive and comfortable. I bought the XL-L, one for the more ‘portly’ rider …. both the XL and XL-L use a 100g canister while the smaller size vests us a 60g canister as their air bag volume is smaller. This does add a little more weight to the right-hand side of the vest, but once you’re wearing it the weight disappears. In use the vest is absolutely fine and doesn’t hinder my movement at all, you can even wear a rucksack with it, but there are a few caveats (loosen straps etc) otherwise you could be in a right pickle if it deploys! Turning the vest off and on is a simple quick-three-taps of the button. If the vest is powered up, but doesn’t move after 40 seconds, it goes to sleep to conserve power. To wake it up, simply move the vest and you’re good to go again. The vest itself comes with a 2 year warranty which extends to 4 if you register it with Helite. They do recommend the vests are returned yearly or at most two yearly, if damaged or deployed more than 7 times for a service/inspection, which appears to cost approx. £75 plus p&p.
So far so good. Putting aside what the vests purpose is for a moment (loads of YouTube videos available anyway) I just want to spend a moment thinking about some of the features which I think should or could be addressed in a Mk3 version to make the garment even better. In my eyes, they’ve missed a trick by not pairing the vest with an app. I know, everything nowadays has an app … but when well written they enhance the function of a device and I think the Turtle vest could greatly benefit from one. Take power for instance, the vest only uses LED/beeper to inform battery status – an app could show detailed info and predict when the vest will run out as well as being used to alert the rider. An app could also show electronics pack and motorcycle sensor status and again, be used to alert the rider if either develops a fault. An app could also for example, be used to alert emergency services when a deployment is registered. And what about selective profiles road/race/off-road algorithms (like ECU maps) and the ability to detach from the motorcycle sensor if required. I’m sure there are many other things as well, but that’s just a few that come to mind.
Also on the wish list – charging. The current 5 – 7 hours seems a long time, I’d like to see fast-charge functionality bring that down to 2 -3 hours if possible. Also the charging cable .. why a proprietary power connector when USB-C is now becoming the connector of choice? And while you’re at it, design the electronics it to accept charge while it’s functioning (currently it only does one or the other) then a power pack can be connected for those looooong days in the saddle! After all this, please don’t think I’m maligning the existing e-Turtle2 vest, I’m not, and I’m really glad I purchased it. I’m just thinking how a great product could be made better and even more user friendly in the future.
Lastly I just want to mention the differences (as I see them) between the standard Turtle2-lanyard deployed and the e-Turtle2. In essence the only difference appears to be the triggering method – one electronic and one that uses a lanyard attached to the bike. The latter requires the rider to move far enough away from the bike for the lanyard to separate from the vest, thus triggering the air bag deployment. The electronic vest relies on sensors and magical algorithms to do the same (and the bikes sensor if fitted) … bottom line, deployment should be quicker and reliable for different incident situations.
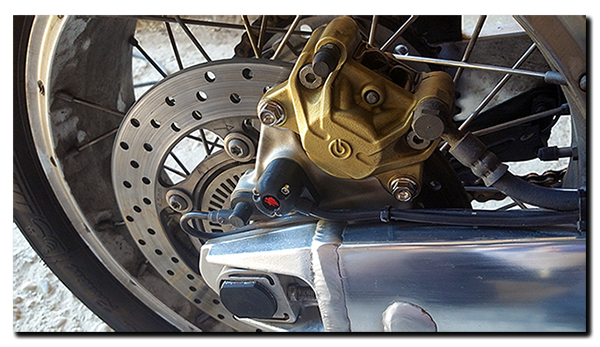
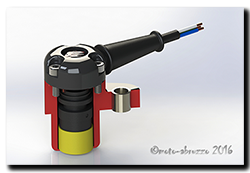
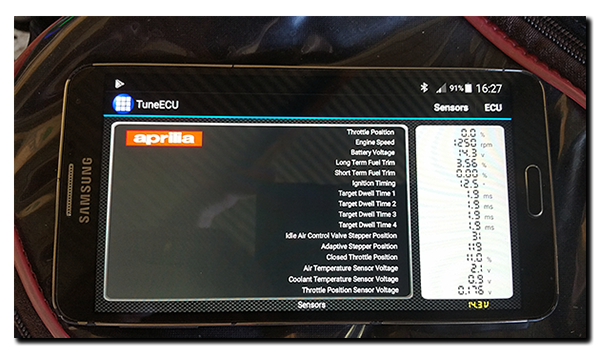
 Yesterday, on a rather cold and wet afternoon, moto-abruzzo took a step into the future ……. courtesy of a good friend that I’m doing a project for. A 3D printer arrived! And being the top man that he is, he’s cool about me printing off those odd little Caponord bits-n-bobs.
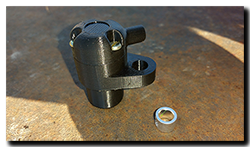




 So is it worthwhile following this up do you think, or should I resign it to – nice idea but ……?