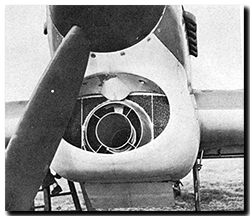
 With plans a-foot to assemble a big-cc motor for the Capo, it was time to cast an inquisitive eye over the airbox snorkel, that ugly rubber protrusion at the front of the airbox, sucking in hot air from on top of the radiator. This one object has been debated far and wide over the years – keep it, or remove it? Yes the questionable snorkelectomy!
Only a couple of ways to find out I guess. Dyno the bike with and without it or draw it up and run a flow analysis on it from the comfort of an armchair. Armchair it is then! With the model 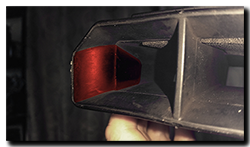 complete, here’s a couple of basic facts: Snorkel Inlet area (total) 1,750mm² and outlet area (total) 3,050mm². So the inlet is slightly restricted, the offending area is highlighted in the picture (click to enlarge). In fact, if the restriction were removed, the snorkel would have an inlet nearer to 2,400mm² – about 37% more!
To keep it simple the analysis was run with air at 1013mb and 20C, both with AND without the  restriction in place and at RPM’s ranging from 1,300 to 10,250 – well above Caponord max RPM of 8,750.
I think it’s reasonable to say that the OEM snorkel doesn’t really do badly until it hits 9,000RPM+ and lets face it, by then the whole thing is over for the poor old Capo anyway! Based on a days digital twiddling and some airbox datalogging several years ago, I have to say that I’m planting my flag firmly in the ‘leave it alone’ camp when it comes to the OEM Capo snorkel. It isn’t and never will be an RSV so why try to make it like one ….. the standard bits are designed to work well enough together for the style of bike it is. Yes of course remapping will improve things no end, but why screw up the ride by making it noisier and offering the local mice a HUGE entrance through which to set up an epic knocking shop on 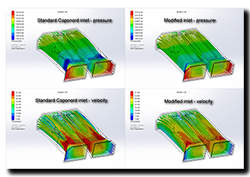 the air filter!
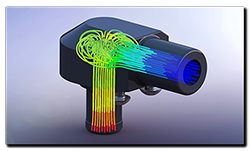
But what about the big-cc conversion? well running the analysis with the 1,103cc and 1,127cc flow certainly seemed to cast doubt on the suitability of the OEM snorkel as the strong pressure drop is now occurring lower down the rev range. So the snorkel design originally drawn up back in October 2012 was dug out of hibernation, modified and polished up for 3D printing and run through the flow software – the green line on the graph above. Overall it seems to offer a cleaner flow, less pressure drop and maintains a similar airflow velocity into the airbox. Unfortunately the one thing the software can’t tell me is how much extra 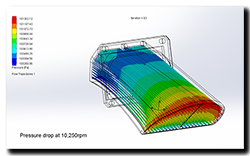 noise will be generated! The OEM snorkel is made of PVCD (flexible) AND has a foam pad in the roof of each inlet – both presumably are to reduce inlet noise.
With everything looking OK a few test parts were printed to make sure it’s going to fit, then the model was split into two along the mounting plate and both parts printed separately. This was due both to size limitations in the printer and because I didn’t want to use any support material to upset the surface finish. Afterwards both parts were bonded together and the inlet tracts rubbed down with 80/180/400/1200 grit sandpaper to get a reasonable finish.
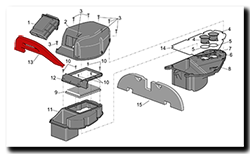 With a bead of sealant and 4x M4x12 and 4x M5x12 screws and nyloc-nuts, the snorkel fits into place just fine. Of course only time will tell how well it stands up to the rigours of its new home! The OEM snorkel has a rubber/foam acoustic panel (AP8117151) that fits over it and of course it won’t fit the new one, so I’ve trimmed this one to suit(ish) and placed an order for a similar dual-material sound deadening product to make a new one specifically for this snorkel. However the chopped-about old panel can’t be far off the ball park, as inlet noise just wasn’t noticeable which was a pleasant surprise …… It could well be a different story from the saddle though! 🙄
So what next? Well the plan is to get a day on a dyno when the weather is more amenable. I’d like to run it as standard, standard + new snorkel and Futura throttle bodies, new velocity stacks and new snorkel and see what the numbers say. Any guesses?
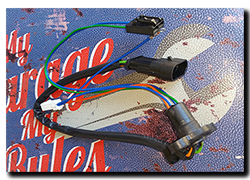
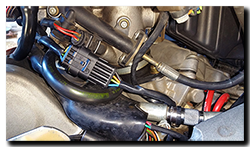 I finally got around to changing out the open-to-air 4-way connector that feeds the fuel pump and fuel level sensor. In went a nice 4-way Superseal (14A rated) with the connectors crimped, soldered and given a light coat of dielectric grease before sliding home into the waterproof housing.
 While under the hood, I noticed that the outer coat of the fuel return line (marine-grade ISO 7840 A1) is showing signs of deterioration and kinking near the swaged end at the fuel tank. I’d noticed it back in September, but unfortunately it appears to be a little worse now. Time then to order a new cLCD 170-04 1/4″ barbed quick release connector from Tom Parker (UK) along with suitable Oetiker clamps – I’ll only use clamps that need to be crimped, never ones with screws that can work loose. I’ve no problem doing the return hoses myself, but when it comes to the high pressure side, I leave it to the professionals. Last time that was MF Hydraulics in Oxford and I’ll be happy to use them again come the day.
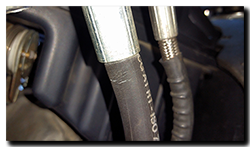 The marine hose has lasted well (9 years) and that’s to be expected given that hose for marine applications has to meet very strict guidelines, however I think hose rated at SAEJ30R9 with its improved impermeability and tolerance to Ethanol is probably better suited on the Capo nowadays. Either way I wouldn’t lose any sleep over it! The high pressure line and main return line are holding up just fine with no sign of wear or deterioration.
 The first
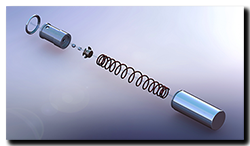

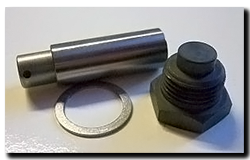 ……. I did find something that might be of interest. It looks like the tensioner fitted to the BMW 650 (late models) and F700/800 bikes could well be the same. Now this can only be corroborated by direct comparison, so I might tout the other new Aprilia one around a few BMW dealers to see if I can find out if they match. If they do fit, then they are available for substantialy less than the £68 each from Aprilia.
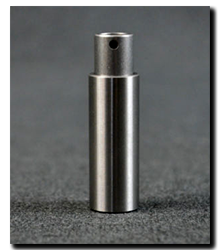 As I write, a swanky set of Futura throttle bodies are winging their way here, as are a nice new pair of Mk2 cam chain tensioners – AP0236253. The
  With plans a-foot to assemble a big-cc motor for the Capo, it was time to cast an inquisitive eye over the airbox snorkel, that ugly rubber protrusion at the front of the airbox, sucking in hot air from on top of the radiator. This one object has been debated far and wide over the years – keep it, or remove it? Yes the questionable snorkelectomy!


 With a bead of sealant and 4x M4x12 and 4x M5x12 screws and nyloc-nuts, the snorkel fits into place just fine. Of course only time will tell how well it stands up to the rigours of its new home! The OEM snorkel has a rubber/foam acoustic panel (AP8117151) that fits over it and of course it won’t fit the new one, so I’ve trimmed this one to suit(ish) and placed an order for a similar dual-material sound deadening product to make a new one specifically for this snorkel. However the chopped-about old panel can’t be far off the ball park, as inlet noise just wasn’t noticeable which was a pleasant surprise …… It could well be a different story from the saddle though! 🙄


 another one, when I had a “Stop the bus!” moment …… don’t waste time and fuel going into town, sit down, draw something in CAD and print that puppy! 😀


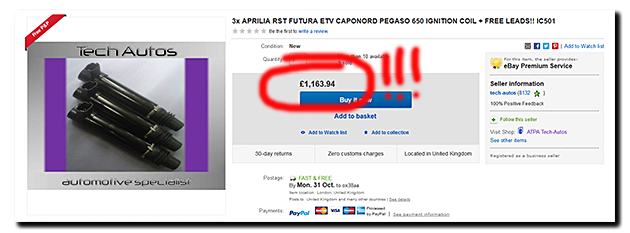
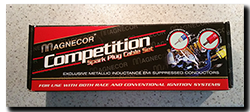
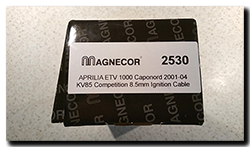
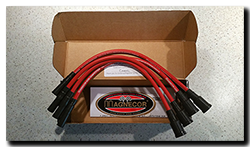
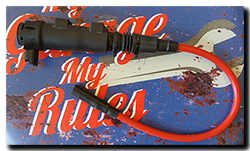
 Yes I put my hand up …… it was all my own fault! I just had to go and mention the Sagem coils in the last post. A real tweak on the nose of Murphy’s Law if ever there was one!
 Once back in the barn I had a look at the Innovv DV recorder – No stored video, nothing! What the hell? Then the penny dropped ….. The Innovv worked fine with the engine off, but fire it up and it had a complete meltdown and either turned off or froze. It looks like some serious interference at work. With the seats off, I realised there was a faint intermittent ‘tick, tick, tick’ to be heard over the exhausts from the battery/coil area but I couldn’t see anything. So I waited until dusk and tried again – bingo! – A nice intermittent flash of HT from a rear coil to the subframe. That’ll most certainly mess things up quite nicely.