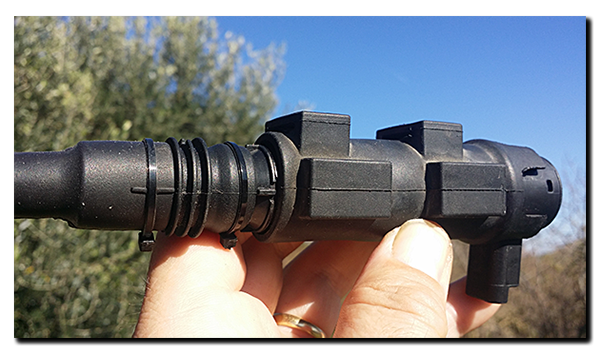
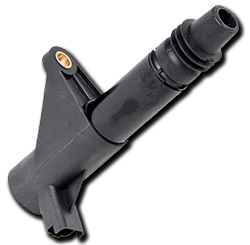
 I purchased the HAAS Renault V6 coils (413745171) from carparts4less for £20.34 each (November 2016) and although the modification of these coils is well documented on various forums, I thought it wouldn’t hurt to write down my own experience fitting them. The coils need modifying in two ways, the removal of some plastic and a change to the HT end if you want to continue using the Aprilia HT leads (AP8127115). I’ll start with the modification of the HT end first.
CAVEAT: Although at the time of writing, I’ve successfully covered a few hundred miles, there’s no guarantee that the coils won’t fail sometime in the near future because of the work carried out at the HT end. If you decide to give it a go, then fine …. just don’t blame me if it doesn’t work!
HT connection
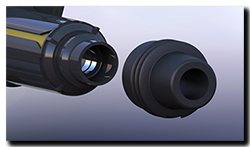 First the rubber insulating boot needs to be removed for better access to the existing HT connection. On the ones I bought the boot was held firmly in place with sealant, but a bit of gentle persuasion soon got it off. Inside is a spring, this can be discarded as it’s of no use with the Aprilia HT lead. Next – get the tools and parts ready!
Parts: M4 x 25mm Hex-head brass screw and suitable sealant for the insulator and HT lead.
Tools: 60w soldering iron with a 6mm diameter straight bit and flat bit. Solder and flux and Needle nose pliers.
The HT end of the coil is an 8mm diameter, 4mm deep metal cup into which is placed a little flux and a coil of solder laid flat. The well heated soldering iron is then placed in the cup for just long enough for the solder to melt and bond – certainly no more than a couple of seconds or damage may occur to the coil and especially the plastic end. Next, hold the 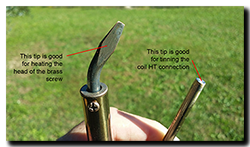 M4 brass screw with the needle nose pliers and tin the head. Get the screw good and hot – it will be the heat source for the solder in the cup. When heated sufficiently, quickly get the head of the screw in the cup, all being well the solder in the cup will melt and the screw drop into place. The head of the screw is a pretty good fit in the cup so you don’t have to worry about centering the screw – just make sure it’s vertical! Once cooled clean out the flux residue and make sure you have a good joint. If all has gone to plan, apply a little sealant to the rubber insulator and push it back into place. That’s it for the HT modification!
Plastics modification
Tools: Dremel & cutting discs or a junior hacksaw and a craft knife to trim up the edges. The following images show the three parts (in red) to remove.
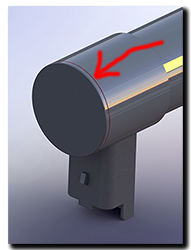 Two are mandatory, while the third – the cylinder – is optional. If the cylinder is left at full length it will still fit into the rubber mounting sleeve, however shortening it will make it a far better fit. If you do remove the cylinder then use a little sealant to seal off the end of the cap to make sure it’s all waterproof. Also the top of the cap is bonded in place with the same sealant they used to fill inside over the electrical connections. Some are not on all that secure, so I added a little sealant into the gap between both parts just to make sure.
Once complete, slide the coil into the rubber sleeve and add a touch of sealant to the nose of the rubber insulator and slide the HT connector into place. I also added a zip-tie to make double sure the seal was good. Now the coil is ready for use!
